
Editing Form Elements
Within the form designer you are able to edit individual elements in the form, using the Form Element Editor. This allows you to customize or add content to each element on the form.
To edit an element on a form, use the following steps:
- Open the Form Designer.
- Click the Edit icon (
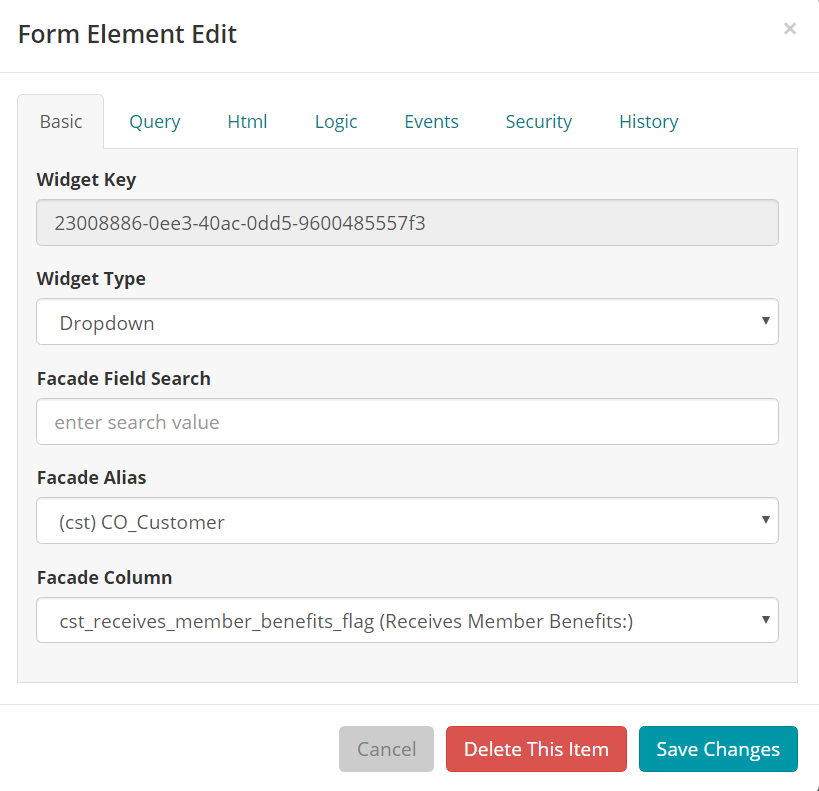
 ) in the label of the element that you want to edit. The Form Element Edit window opens.
 - Edit the information about the element as needed. This window varies based on the type of element you choose to edit.
- The Basic tab shows identifying information about the element, including the Widget Key and Widget Type. In most cases you do not need to edit information on this tab, but in some cases, you can specify a URL to load for this element, a Facade Alias, or Facade Column.
- In the HTML tab, you can add a separate HTML ID, apply a different stylesheet (css) and add text that explains how the element is to be used.
- Use the Logic tab to determine whether the element is a required field, read-only, or conditionally visible on the form.
- The Events tab is shown if you can set an event on the element that is based on user action. For example, you can reload other widgets on the page based on a change in this widget, and set a value for the reloaded widgets. You can also cross-reference corollary fields.
- The History tab displays the user and date when the element was added or most recently changed. This information cannot be edited. For a complete list of changes for the form, use the History button (
 ).
).
- Save your changes. The next time you edit the element, the Form Element Edit window shows the latest updates to the element.
Tip: You can back out your most recent changes by clicking the Undo Last button. You can remove all customizations to the form by clicking the Clear All button. Clear All reverts the form to the baseline version, so it must be used with caution.