Dashboard Filter
The MIP Cloud Dashboard Filter icon appears on the top left corner of the dashboard. Click Filter to filter the dashboard results displayed by:
- Chart of Account Segment filtered by Single Segment Code and Selected Code
- Chart of Account Segment filtered by Report Group and Report Group Set\Report Group
To add a filter to the dashboard using the Dashboard Filter:
- Click Filter.
The Dashboard Filter window displays.
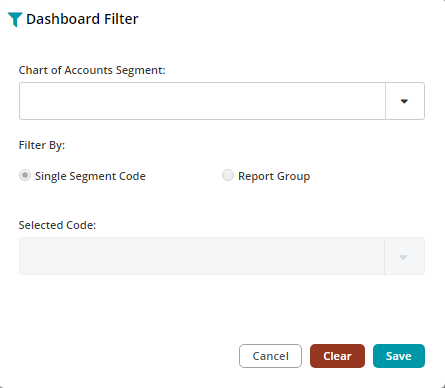
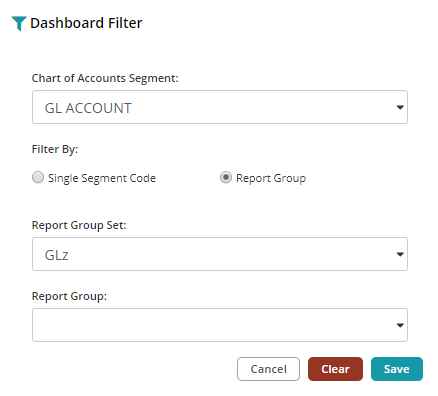
- Click the Chart of Accounts Segment drop-down and select a Chart of Account Segment from the drop-down list.
- Click to Filter By either:
- Single Segment Code: Click the Select Code drop-down and select a Chart of Account Segment Code from the drop-down list. Continue with Step 4.
- Report Group: Click the Report Group Set drop-down and select a Report Group Set Name from the drop-down list. Click the Report Group drop-down and select a Report Group from the drop-down list. Continue with Step 4.
Note: The list of available codes changes depending on the segment selected.
Note: The list of available report group set names and report groups changes depending on the segment and report group set name selected.
- Click:
- Cancel to close the Add Filter window cancelling any changes.
- Clear to clear any selections made in the drop-down lists.
- Save to save the selections made in the drop-down lists.
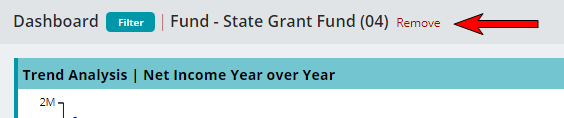
The added Dashboard Filter is applied to the dashboard.
Note: The current filter parameters are displayed next to the Filter icon. Click Remove to clear the filter parameters.
Filters stay applied until removed, even when logging off and on. Switching between dashboards changes the filter to the one applied for that particular dashboard.