How Do I Bind Reports Using the Scheduler Module?
The following is a checklist for using the Report Binder Scheduler. If needed, review the checklist for Setting Up Scheduler.
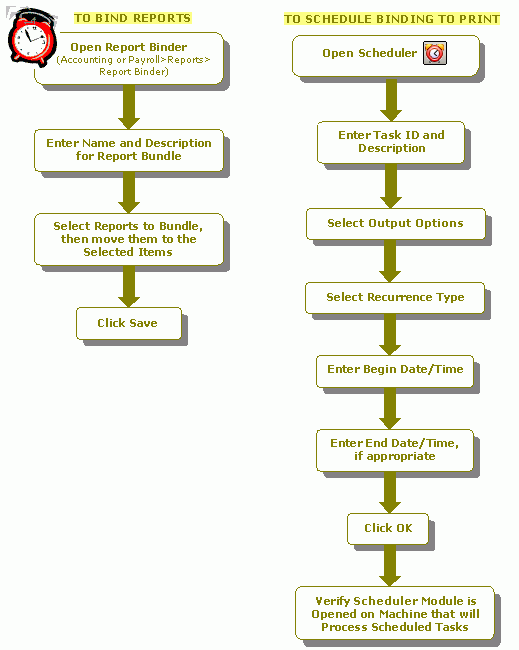
To Bind Reports
With Scheduler, multiple reports can be scheduled for printing at the same time using the Report Binder.
- Open the Report Binder (Reports>Report Binder).
- Enter a unique name for the report bundle.
- Enter a meaningful description for the report bundle.
- A list of all the reports saved (depending on which system you are in) appears on the left side-Available Items. Default reports are listed first. Select the reports to bundle and move them to the right side-Selected Items.
- Click Save.
To Schedule the Binding to Print
On the Report Scheduler form, schedule the reports that were binded to print.
- Enter a unique Task ID to identify the scheduled job.
- Enter a meaningful Description for the scheduled job.
- Select an Output Option, such as Printer, XLS, or PDF. If you select XLS or PDF, you must enter a Path and File name.
- Select the scheduled frequency for the job from the Recurrence drop-down list.
- Enter a Begin Date and Begin Time for the job to begin processing.
- Enter an End Date and End Time for the scheduled job. For a frequency of "Run Only Once," these boxes are disabled.
- Click OK to complete the scheduling for the task.
- Verify that the Scheduler module is opened on the machine that will process the scheduled task. It must remain opened in order for the scheduled tasks to run. No other module needs to be open. You can process any jobs that were scheduled by you or all jobs if you have rights to process jobs for all users.
Note: See Setting Up SMTP to schedule a group of reports to be emailed.
