Microsoft Multi-Factor Authentication Support
NetForum provides an addition level of security support to your iWeb application by allowing the user to authenticate iWeb using the Microsoft Multi-Factor Authentication. Using this feature, the iWeb user can log in to the iWeb application using their Microsoft credentials generated through the Azure active directory. The following tasks will help you in completing the initial setup for your iWeb application to be able support the Microsoft Multi-Factor Authentication and add new users in Azure Active Directory. This will also cover the changes required in the web.config file of iweb for the application settings.
Setting up NetForum Application in Azure Tenant
In order to have Multi-Factor Authentication support for your iWeb application, you need to complete the App registration for your iWeb application in Azure tenant. This section contains the information to set up NetForum iWeb application in Azure Tenant.
To perform the below-mentioned task you must have the following privileges:
-
As an administrator of your association, you need to have administrator access to the Azure portal.
-
Access to NetForum iWeb web.config file.
To set up NetForum Application in Azure Tenant:
-
Login to Azure portal.
-
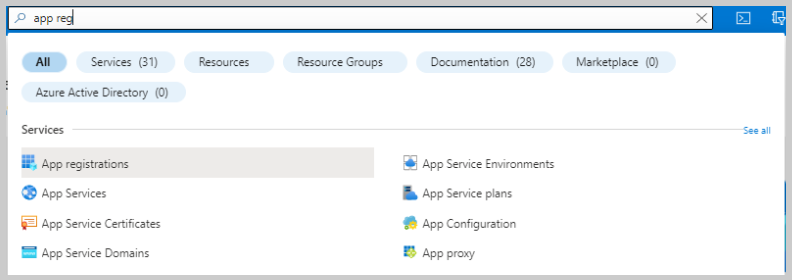
Navigate to the App registrations page to register your app.
-
Select the New registration.
-
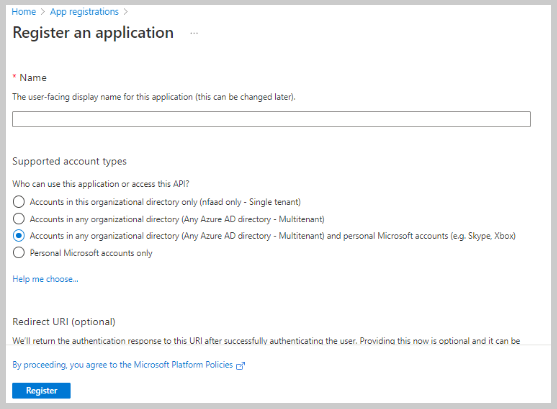
On the Register an application page, set the values as follows.
-
Enter a Name for the application. For example, NetForumapp.
-
Set the Supported account types to Accounts in any organizational directory (Any Azure AD directory - Multitenant) and personal Microsoft accounts (e.g. Skype, Xbox).
-
In the Redirect URI section, ensure that Web is selected in the drop down and then set the URI to {site}/iWeb/Auth.
Note: The host name in the redirect URI (site) may be different on your cloud machine.
-
-
Select the Register button.
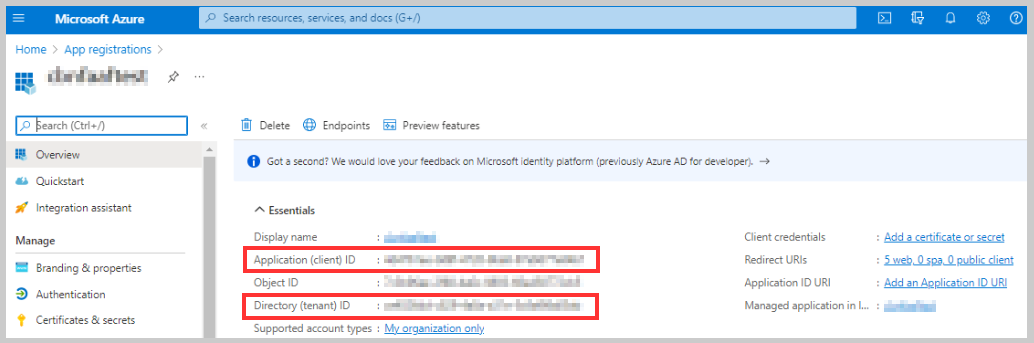
On successful completion of the registration, you will be redirected to the App registrations Overview page.
Note down the Application (client) ID and Directory (tenant) ID from the App registrations page, these details will be required while updating the web.config file.
Updating the iWeb Web.Config File
Once the Application (client ID) and Directory (tenant) ID of App registration is completed in Azure Tenant, then the admin user is required to update these details in the iWeb web.config file. The following steps will guide you in updating the appsettings in iWeb web.config file.
To update the appsettings in iWeb, edit the web.config file as follows:
-
Go to iWeb\web.config.
-
Open the web.config file in a text editor.
-
Search for the appsettings tag. You will find the appsettings section:
-
In the appsettings, fill in the below values
-
ClientId : Application (client) ID of App Registration
-
Tenant : Directory (tenant) ID of App Registration
-
Authority : “https://login.microsoftonline.com/{0}/v2.0”
-
redirectUri : URL where the user is redirected after login is successfully done
< add key="ClientId" value="{clientid}" />
< add key="Tenant" value="{tenantid}" />
< add key="Authority" value="https://login.microsoftonline.com/{0}/v2.0" />
< add key="redirectUri" value="{site}/iWeb/Auth" />
-
-
Save web.config.
In the authentication mode of the iWeb web.config you must use one of the below loginUrl:
-
If you are using Microsoft Authentication, then use "~/Auth "
-
If you are using existing NetForum form Authentication, then use "~/login.aspx"

Adding New User in Azure Active Directory
The following steps will help you in setting up a staff user’s account in Azure Active Directory for the Microsoft Multi-Factor Authentication.
To add a new user in Azure Active Directory:
-
Sign in to the Azure portal in the User Administrator role for the organization.
-
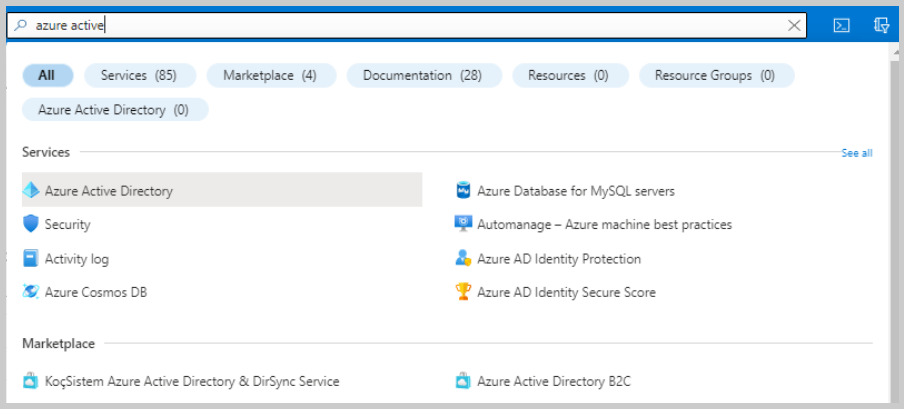
Search for and select the Azure Active Directory services.
-
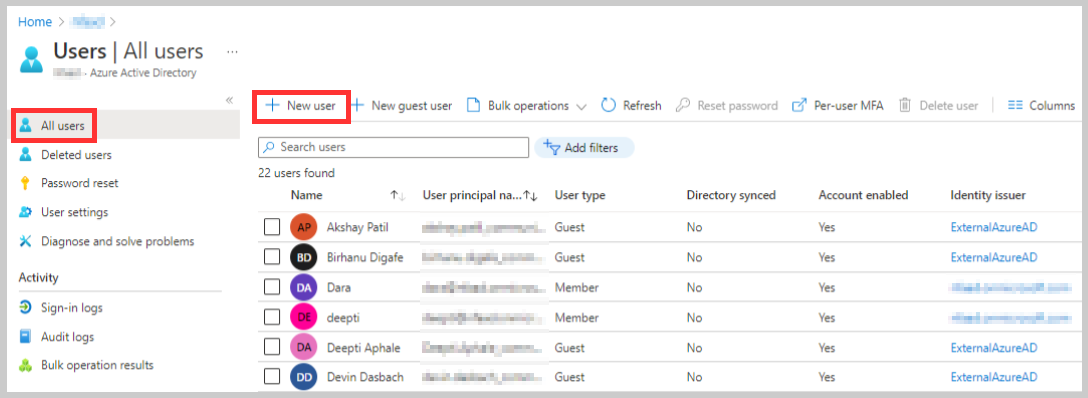
Select Users, and then select the New user.
-
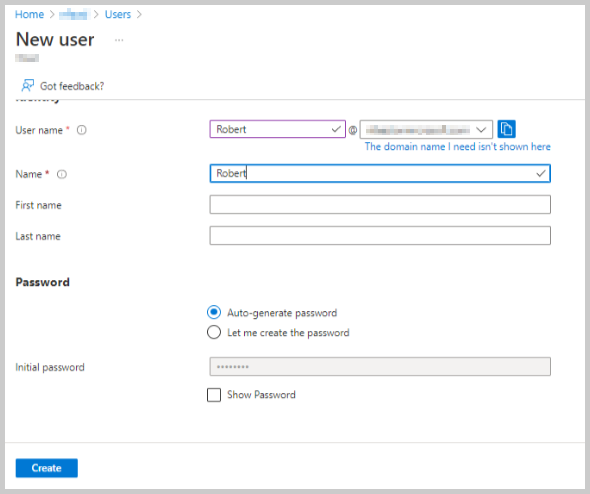
On the New user page, enter information for this user.
-
Copy the autogenerated password provided in the Initial Password field. You will need to give this password to the user to sign in for the first time.
-
Select the Create button.
The user is created and added to your Azure Active Directory organization.
Enabling Multi-Factor Authentication for a User
After adding a user to the Azure Active Directory, as an admin user you are required to enable the Multi-Factor Authentication for the user. The following steps will guide you in enabling the Multi-Factor Authentication for a user.
To enable Multi-Factor Authentication for a user:
-
Sign in to the Azure portal in the User Administrator role for the organization.
-
Search for and select the Azure Active Directory services.
-
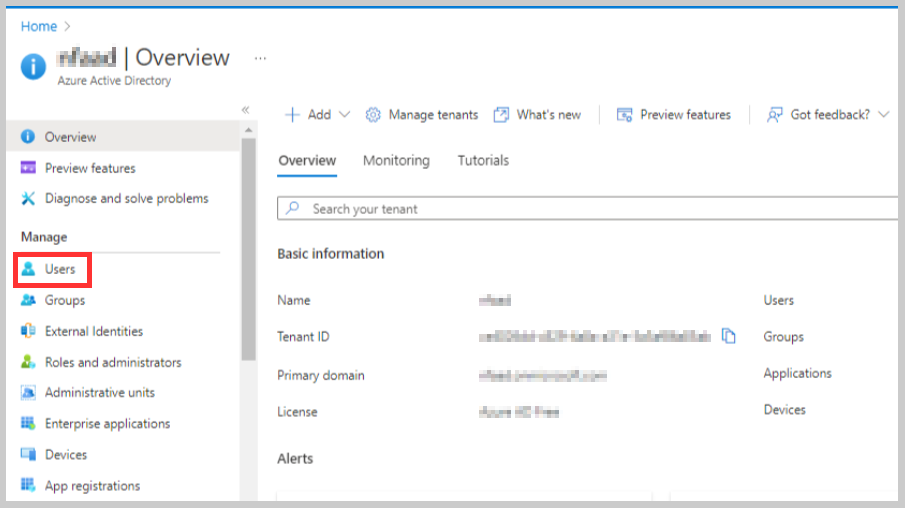
Select Users under the Manage section.
-
Select the Per-User MFA to display the list of the user to enable MFA.
-
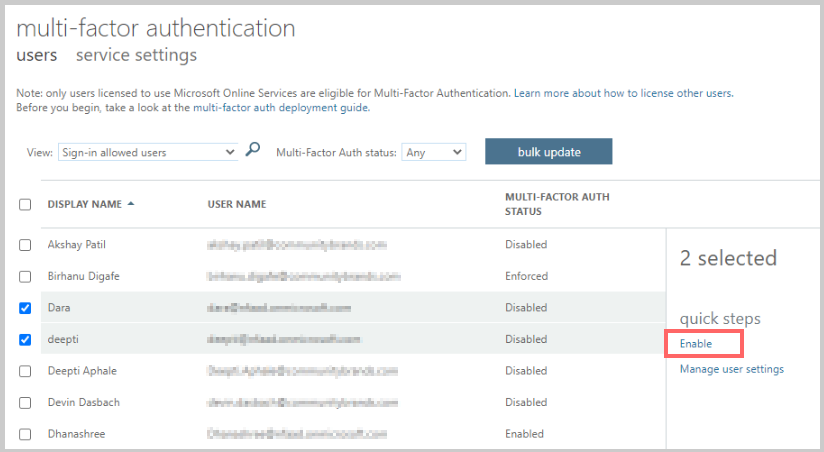
Select the user or list of users and then select the Enable link.
-
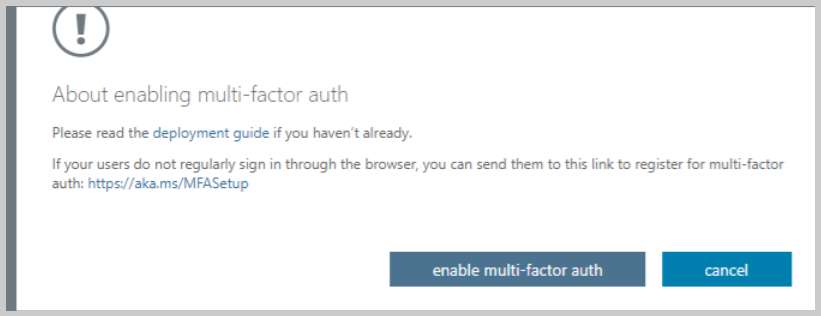
From the displayed pop-up, select the enable multi-factor auth button to enable MFA for selected list of users.
-
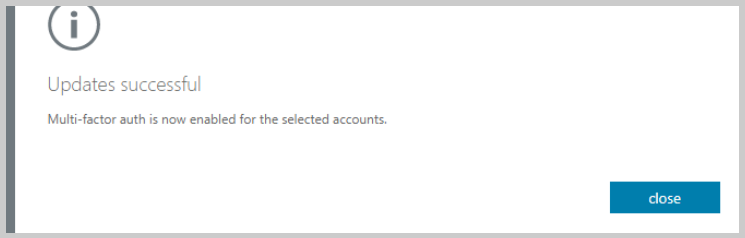
Select the Close button.
-
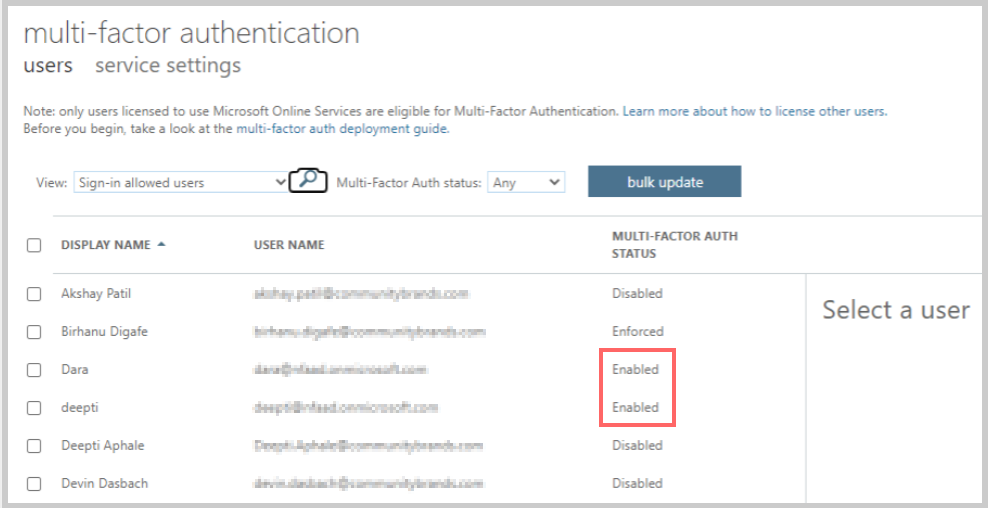
You can view the status as enabled for the selected users.

The following message will be displayed once the update is successfully completed.
Setting up a User for Microsoft Authenticator in iWeb
Once you get your username and password generated in Azure Active Directory from your admin, you are required to set-up Microsoft Authenticator initially. The following steps will guide you in completing the set-up task.
To set up a user for Microsoft Authenticator in iWeb:
-
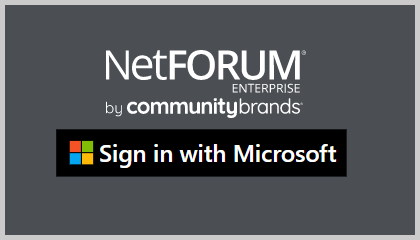
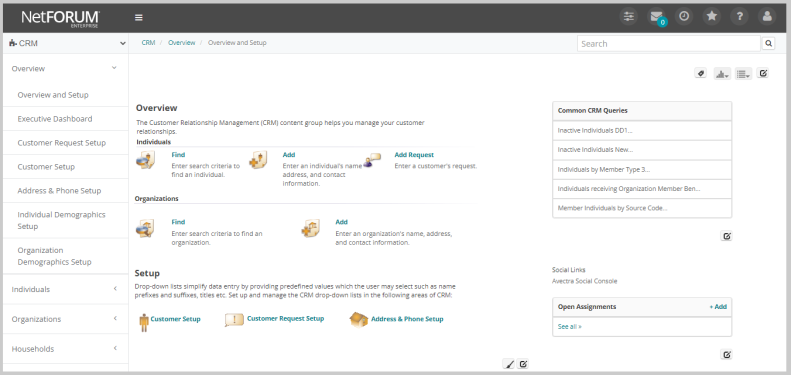
Open the iWeb site that is registered for MFA in Azure Portal. The following Login page with the Sign in with Microsoft button will be displayed. Click the Sign in with Microsoft button.
-
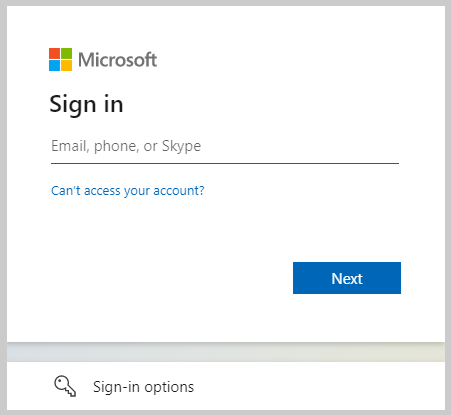
On the Microsoft Sign in form, enter the valid username/user ID.
-
On the displayed form, enter the password that was generated through the Azure Active Directory and then click the Sign in button.
-
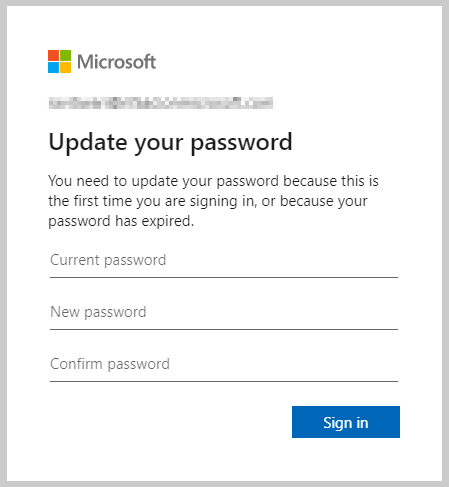
Update your password and click the Sign in button.
-
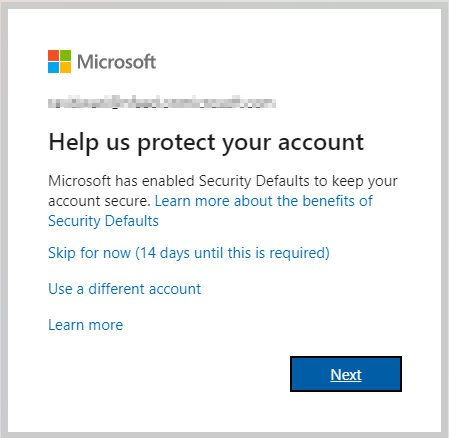
Click the Next button to complete the Microsoft authentication setup process or you can skip for now using the Skip for now link.
-
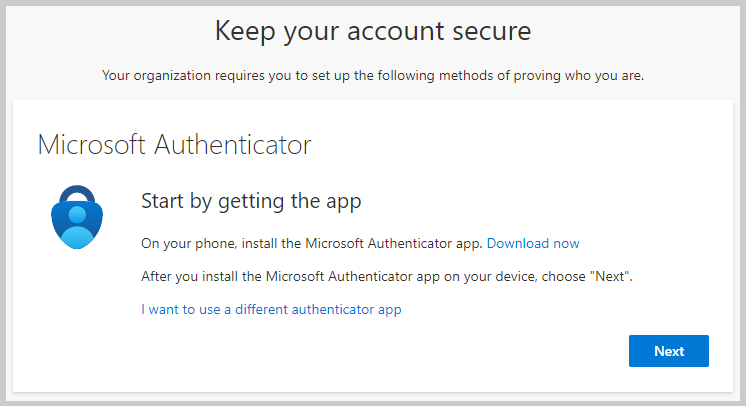
Download and install the Microsoft Authenticator app on your smartphone device as stated in the following screenshot. Click the Next button if you already installed the app on your smartphone device.
-
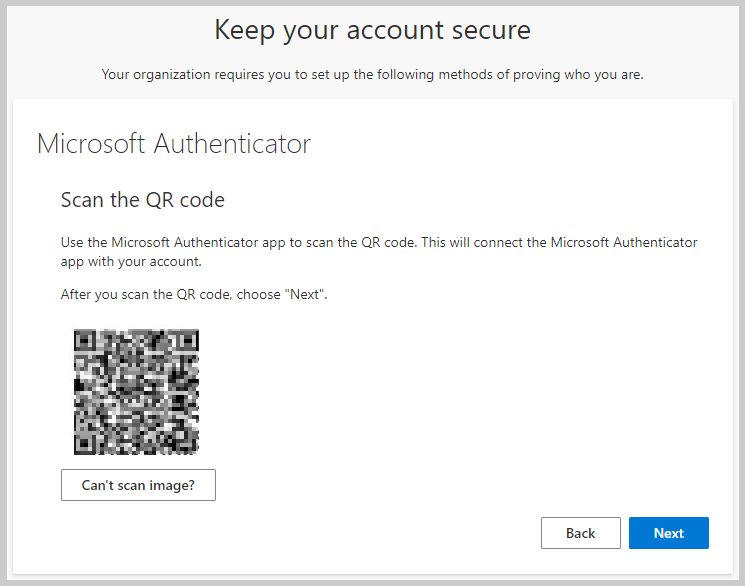
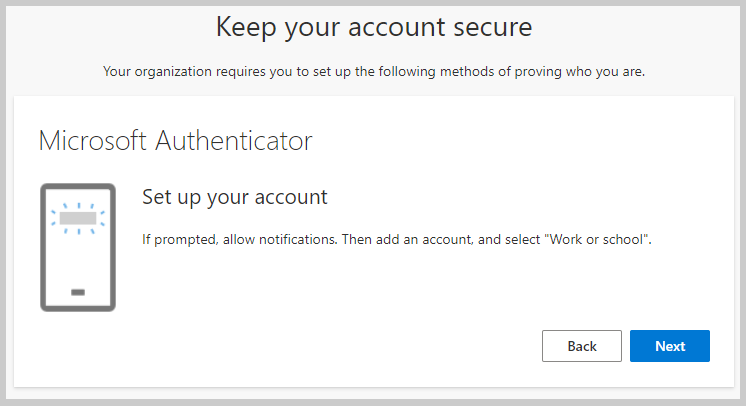
On the displayed page, follow the instructions and click the Next button to complete the setup on your smartphone.
-
The displayed page contains a unique QR Code, scan the QR code using the Microsoft Authenticator app.
-
On your smartphone device tap the Add account option available on the More menu (three dots icon) and if prompted select the Work or school account option.
-
On the displayed pop-up, tap the Scan a QR code option. Scan the QR code and your user account will be displayed on the screen.
-
-
Click the Next button on your system once you complete the QR scan task.
-
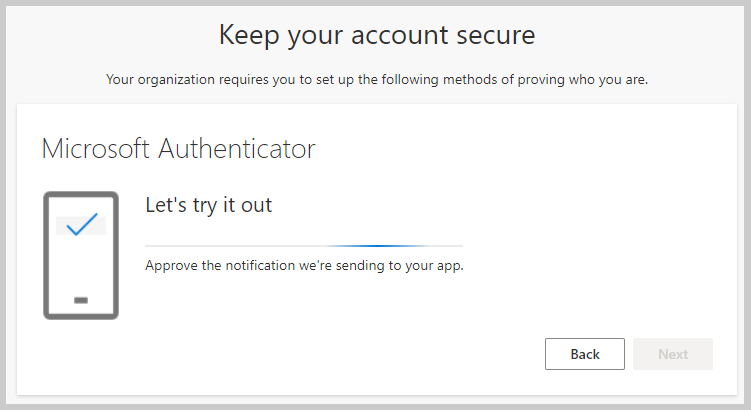
While you are on the following page, an Approve sign-in? notification will pop up on your smartphone device for approval request. Tap the Approve button to sign in or Deny to cancel the sign in task.
-
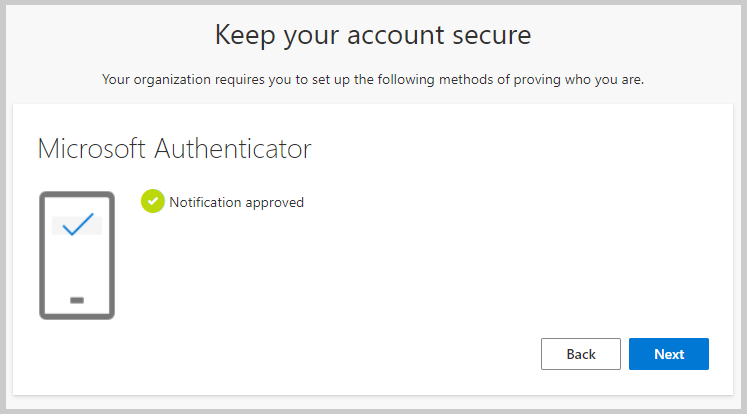
On approving the request through your smartphone device, you will be directed to the following page stating Notification approved. Click the Next button.
-
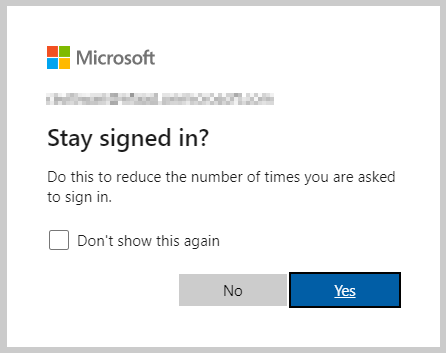
Click the Done button, and you will be directed to the following page. You can select Yes if you wish to stay signed in (This will reduce the number of times you are asked to sign in.)
Make sure the user is associated with the Azure active directory and MFA is configured for it.

Once you click the Next button, you will be directed to the Microsoft Authenticator page. Follow the instructions displayed on the page to complete the set up for Microsoft Authentication using the Microsoft Authenticator app on your smartphone device.
On completion of the authentication set up task, the system will display Success! message.
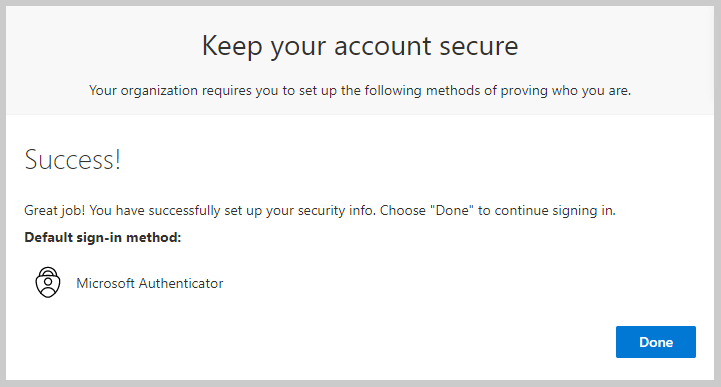
The system lets you to log into the iWeb application.

iWeb Sign in Process with Multi-Factor Authentication
Once the Microsoft Multi-Factor Authentication setup is completed for the first time for a staff user, then the staff user has to use the Microsoft Azure Directory generated username every time logging into iWeb and get the access request approved from their Microsoft Authenticator app.
To sign in to iWeb:
-
Open the iWeb site that is registered for MFA in Azure Portal. The following Login page with the Sign in with Microsoft button will be displayed. Click the Sign in with Microsoft button.
-
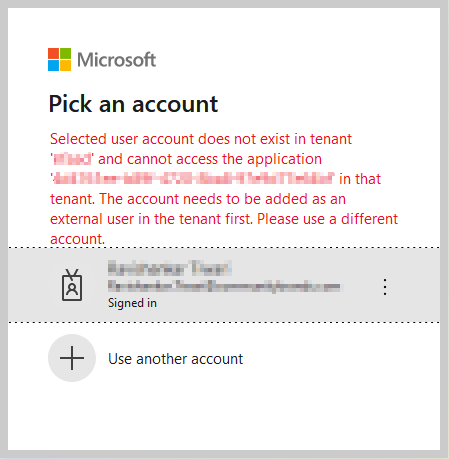
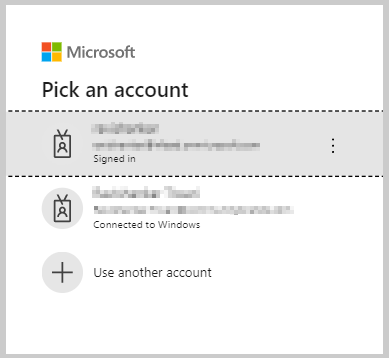
If you have multiple users configured for the iWeb site, the system will display the users and you are required to pick the user that you wish to continue with. Click the desired user account.
-
On the displayed Microsoft Sign in form, enter the valid username and click the Next button.
-
On the displayed form, enter the valid password and then click the Sign in button.
-
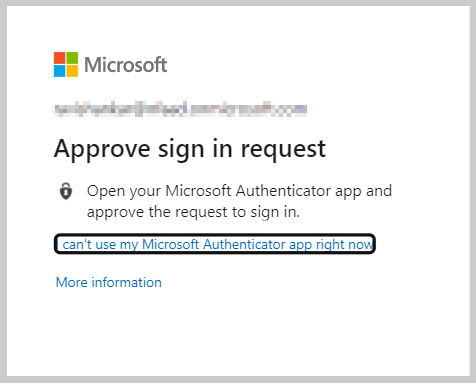
Once you click the Sign in button, you will be directed to the Approve sign in request form. An Approve sign-in? notification will pop up on your smartphone device for approval request. Tap the Approve button to sign into iWeb.
-
On the displayed form, click the Yes button if you wish to stay signed in (This will reduce the number of times you are asked to sign in.) or click the No button if you are fine to sign in every time the system asks you for.
Make sure the user is associated with the Azure active directory and MFA is configured for it.
The following Signing in page will be displayed with your username.
The system lets you log into the iWeb application.
Note: Note: You will receive the following error message if the user is not associated with the Azure Active Directory and asks you to use different account.