Outbound Webhooks Integration
Outbound Webhooks acts like a push notification which sends notifications to an application acting as a subscriber. Here, NetForum (iWeb) acts as Publishers and sends messages to the other systems that are integrated and set as subscriber. Messages are assigned a topic and attributes in the NetForum.
Adding Outgoing Webhooks Integration Instance
For Outbound Webhooks Integration to work, you must have the Outgoing Webhook Integration Instance created in NetForum. This Integration instance contains the required settings fields that need to be entered prior to using the Outgoing Webhook feature. This section also maintains the log of all the requests and responses.
To add Outgoing Webhooks Integration instance:
Important! You must have administrator privileges to perform the following steps.
- Login To iWeb.
- Go to the Admin module and click the Integration group item to expand.
- Form the expanded list, click the Integrations group item link. The Integrations profile will open with three child form, Integrations, Outgoing Webhooks, and Webhook Messages.
- On the Outgoing Webhooks child form, click
 icon. The Add-Outbound Webhook form will open.
 - Enter the desired name in the name field and click Save.
-
Click the Go To
 icon on the newly created Outgoing Webhooks Integration instance. This will display Integration Profile.
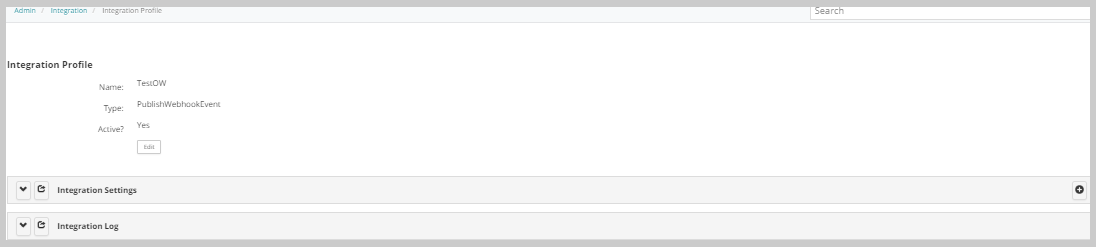
On the Integration Profile, observe that the Integration Profile contains Name, Type, and Active fields, this can be updated using the Edit button.
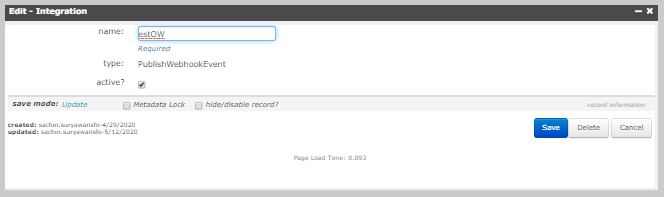
- Click the Edit button on the Integration Profile.
-
Check the active check box. The active check box must be checked if you want this Integration instance to be used.
The other two child form on the Integration Profile are Integration Settings and Integration Log child forms.
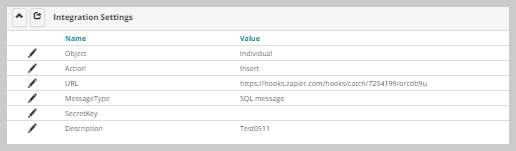
The Integration Settings child form contains all the required fields to make the Outbound Integration work. The prepopulated interaction settings are: Object, Action, URL, Message Type, Secret Key, Description. All the fields need to be filled with appropriate values.
-
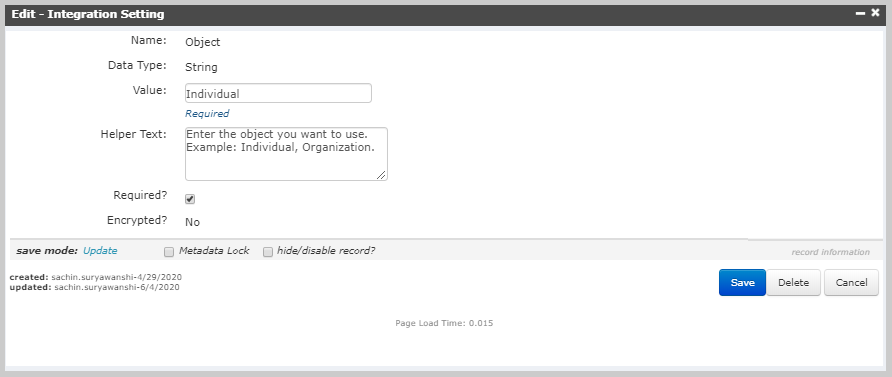
Click the Edit icon on each of the Integration Settings fields and enter the appropriate values.
-
Object: Enter the object you want to use. Example: Individual, Organization.
-
Action: Enter the action that will trigger this webhook. (Insert, Update, Delete).
-
URL: Enter subscriber URL. (like AWS, Azure, Zapier and so on.)
-
Message Type: Enter the Webhook Message ID.
Note: The values shown in the below image are for reference and should not be used for your Integration settings.
The Integration Log child form maintains the history of all the message request and response.

-
The Type field is prepopulated with PublishWebhookEvent value, this is a set value and cannot be changed by user.

This will add the newly created Outgoing Webhook Integration Instance in the Outgoing Webhooks child form.

The Edit-Integration form will populate the name and type in their respective fields. The type field contains the read only value and the name field can be edited.