Color and Size Selection for eWeb Products
Overview
The Shopping Cart Merchandise Selector gives users the ability to select products of different sizes/types and colors without having to scroll through multiple product pages. Merchandise products which are similar but have different colors and sizes/types can be grouped together and a “parent” merchandise product identified. On each merchandise product, user can change the color, size/type combination and the system will add the correct product to the cart. Even though products are grouped together, each Merchandise item has its own product record and inventory still tracks the inventory transactions on a per item basis. This ensures your inventory transaction and reports remain accurate with no change to your current day to day operations.
Product Setup – Setting Up Color and Size/Type in iWeb
To setup color for merchandises product:
- Go to Inventory module and click Overview group item to expand.
- From the list, click Product Setup group item link. This will display the Product Setup page.
-
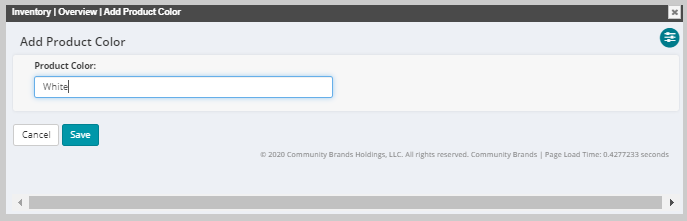
On the Product Setup page, scroll down to Product Color child form and click Add New Record
 icon. This will display the Add Product Color form.
 - Enter the desired color name in the Product Color field and click Save.
- The newly entered color will be added in the Product Color child form. Repeat step 3 and 4 to add more colors as required.
You can edit or delete the Color field by clicking Edit icon or Delete
 icon on the Color record.
Note: An N/A option can be created if the merchandise item does not come in different colors.

To setup Size/Type for merchandise product:
- Go to Inventory module and click Overview group item to expand.
- From the list, click Product Setup group item link. This will display the Product Setup page.
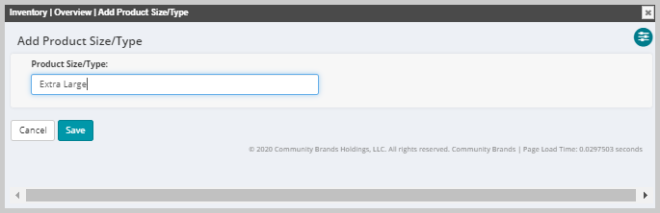
- On the Product Setup page, scroll down to Product Size/Type child form and click Add New Record
 icon. This will display Add Product Size/Type window.
 - Enter the desired size or type name in the Product Size/Type field and click Save.
- Repeat step 3 and 4 for adding more Sizes/Types as needed.
You can edit or delete the Size/Type field by clicking Edit icon or Delete
 icon on the Size/Type record.
