Making a Product as Display Product
This section describes how to link products in a group together, so that only one product gets displayed on the eWeb and switching between products using the Color and Size/Type option can be done on one page. To make this process work, you must make a Merchandise product a display product and link other Merchandise products having different colors and sizes/types to this product as related products
To make a product a display product:
- Open the Merchandise product that you want as a display product in eWeb.
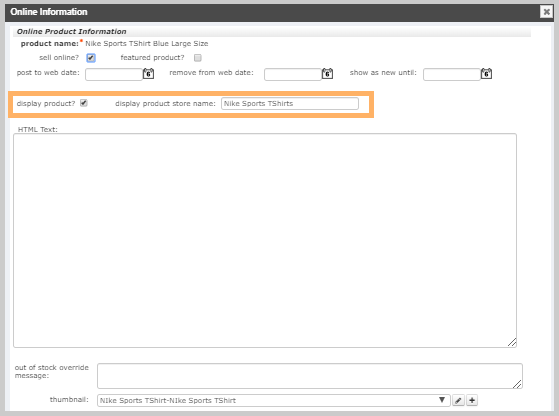
- On the Merchandise profile page, click Edit tab and then click the Web information link from the drop-down list. This will display the Online Information window.
- On the Online Information window, select display product? check box.
- Enter a product store name as desired in the display product store name field.
- If a product is a display product, the display product store name will display in Merchandise Category product list. If a product is a display product and a featured product, the product will display in the featured section using the display product store name.
-
If searching for a product by name, the display product and all its related products will display in the search results.
-
In all three cases, you will be able to select size/type and color on the online store product page.
- Click Save.
Once you select the display product? check box, the display product store name field will appear.
Linking a Merchandise Product to the Display Product
This section describes how to link a Merchandise product to the display product. Before proceeding with below steps, make sure you have created a display product. Refer to Making a Product as Display Product for details.
To link a Merchandise product to the display product:
- Open a Merchandise product that you want as a related product in eWeb.
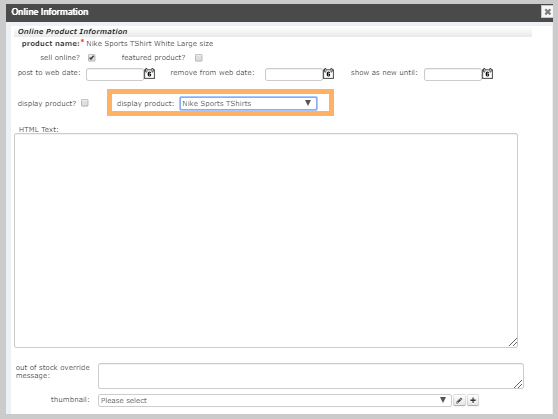
- On the Merchandise profile page, click the Edit tab and click the Web information link from the drop-down list. This will display the Online Information form.
- In this form, click the display product drop-down field and you will see that the newly added display product store name is listed in the drop-down field.
- Select the newly added display product from the display product drop-down field.
- Repeat steps 6 to 9 for linking other Merchandise products with the display product. This will link products as a child product under the display product.
Important! By selecting the display product from the drop-down field, you are linking this product with the display product. This is necessary for grouping all the similar products together for color and size/type selection in eWeb.
Changing Display Product
This section describes how to select a different product to be the display product.
To select another product as the display product:
- Open the existing Merchandise product of the current display product.
- On the Merchandise profile page, click Edit tab and then click the Web information link from the drop-down list. This will display the Online Information window.
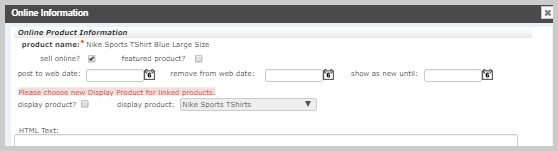
- On the Online Information window, clear display product? check box. This will populate a message above the display product? check box stating, ‘Please choose new Display Product for linked products.’ Click Save.
- Now, open the Merchandise product that you want as a display product in eWeb.
- On the Merchandise profile page, click Edit tab and then click the Web information link from the drop-down list. This will display the Online Information window.
- On the Online Information window, select display product? check box.
- Enter a product store name as desired in the display product store name field. This store name will act as a main product for all the child products that will be linked with this product.
- Click Save.
- To link all the products that you want to have under this display product, follow and repeat the Linking a Merchandise product to the Display Product steps.
Once you select the display product? check box, display product store name field appears.