
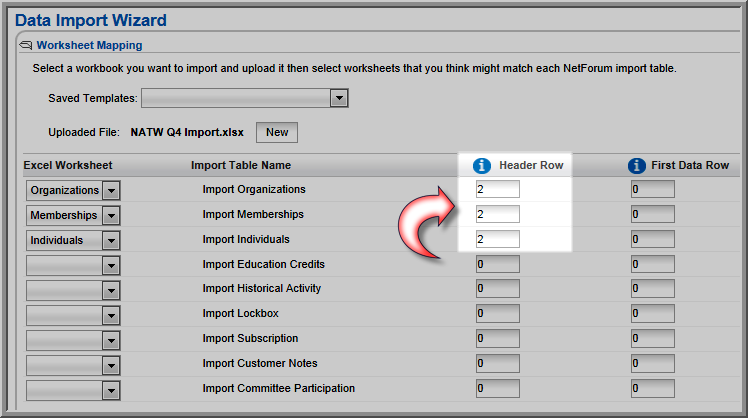
Next to each Import Table Name you will see two columns; Header Row and First Data Row. The Header Row field allows you to specify which row of your Excel file you wish to be used as the table header in netFORUM Pro Pro. The First Data Row field requires that you specify which row of the Excel file that was uploaded contains the actual data to be uploaded into netFORUM Pro Pro.
The numbers you enter in each of these fields will determine which row is used to indicate both header data and actual data for your data mapping process. Entering the number 1 in the Header Row field will cause the first row in your Excel file to be used as the header row in the netFORUM Pro Pro interface. Entering number 2 in the Header Row field will cause the second row from the Excel file to be used as the header row in the netFORUM Pro Pro interface, and so on.
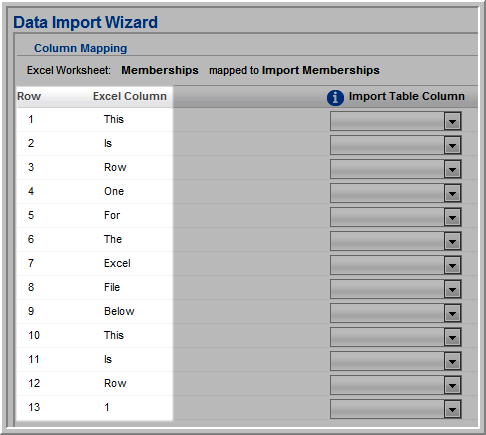
For example, the image below shows an Excel file that has been uploaded into netFORUM Pro Pro. As you can see there are three header rows in this Excel file. Header Row 1 contains some test data that would be difficult to use in terms of data mapping, while Header Rows 2 and 3 contain data that could be used during the mapping process.
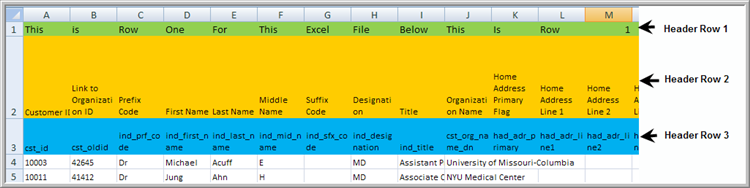
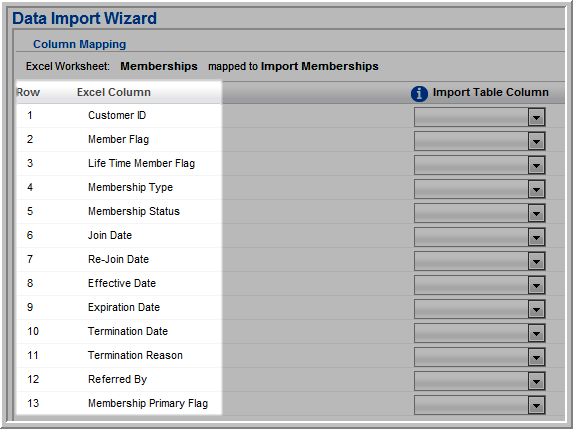
If you select row 2 in the Header Row field, row 2 from the worksheet will be pulled in and provide you with a much more acceptable set of fields to use for the data mapping process.
As you create your Excel worksheets, you may find it necessary to put some general information in the header rows. This is perfectly acceptable and will not impact your data upload or mapping. However, you should include header rows that correspond to the netFORUM Pro Pro Import Table Columns and use those rows as your header rows within the Data Import Wizard.
To set the Header Row for your worksheets:
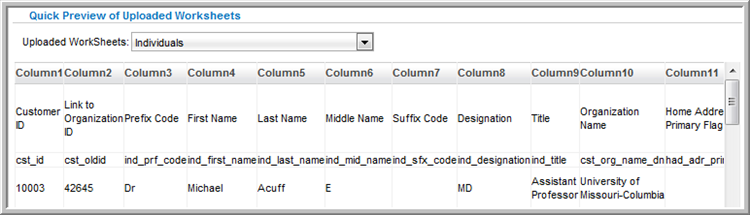
This will show you the data that has been imported from your Excel worksheet by row. In the example above you can see row 1 contains the test data, row 2 contains “friendly” names for the table columns, and row 3 contains the actual column names as they are used in netFORUM Pro Pro, and row 4 begins the actual data to be imported.
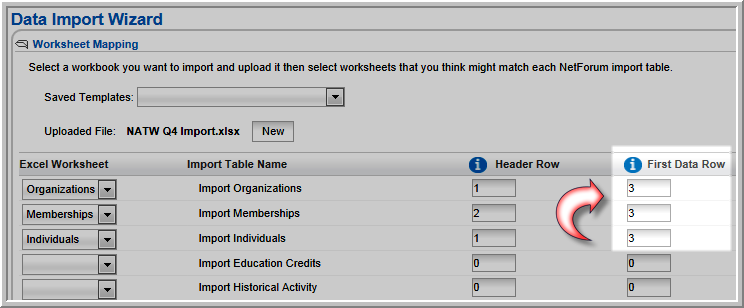
To set the First Data Row for your worksheets:
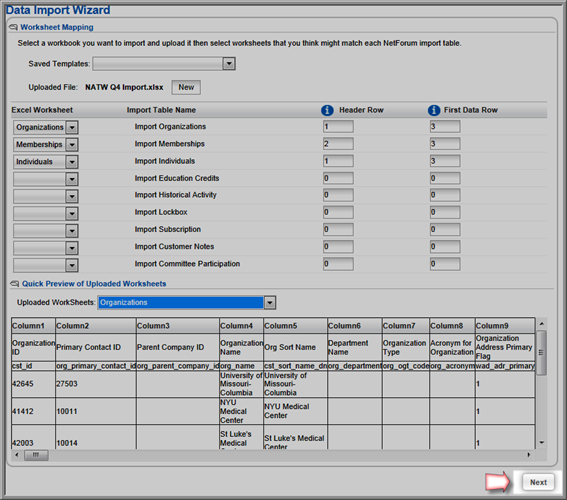
Clicking the Next button will take you to the data mapping page for the first worksheet in your data import project.