Organization Settings Attachment Categories
This tab is opened by default when the Organization Settings form displays and Attachments is selected on the left. To return to it from any other tab, click Attachments on the left of the Organization Settings form.
The initial setup automatically created system-defined Categories (such as Cash Receipts and/or Vendors) for all installed modules and sub-categories (such as 2014 or Correspondence) for some Categories. You cannot add or delete these system-defined Categories; however, you can add sub-categories to each Category. Enter or change titles for existing categories and sub-categories, or create new sub-categories.
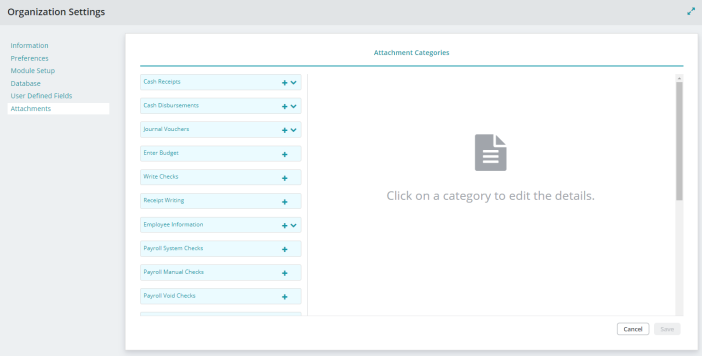
Attachment Categories
The category structure for Attachments displays on the left as you are designing it. All of the system-defined Categories are shown, and you can create sub-categories under each category.
You can delete any sub-categories and its contents.
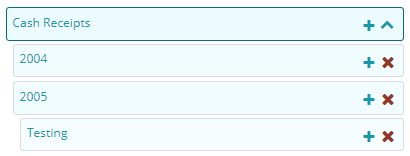
Click the green + to add a sub-category.
Click the red x to delete a sub-category.
We recommend limiting your entry to strictly alphabetic characters (A through Z) or numeric characters (0 through 9), and avoiding the use of symbols.
Category Details
Click a category or sub-category in the Attachment Categories structure to display the details for that category or sub-category.
Category Title: Enter or update the category title.
Buttons
Cancel: Click to cancel changes made to a category title.
Save: Click to save changes made to a category title.
Reset Grid: The Reset Grid button will reset the specific table to its default order.