New User Profile
The user profile has been enhanced with a new look and feel for better user experience, the following updates are covered for the user profile in the 2017.1.19 Service Pack Release:
- The User Profile now allows user to upload their profile image.
- Below the profile image area, following three links has been added for user assistance:
Communities: the link redirects the user to the community page
- Ideas Portal: the link redirects the user to the NetForum Enterprise User Suggestions page. (The Ideas Portal link has been added to the New User Profile in the 2017.1.21 Service Pack Release.)
- Contact Us: the link redirects the user to the support page
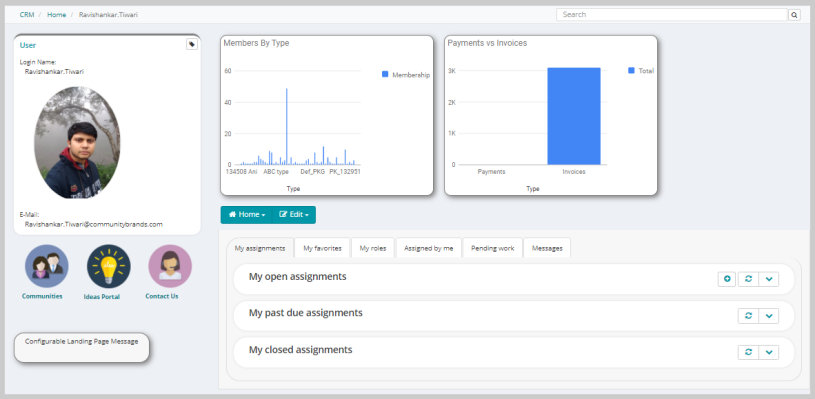
- The User profile page has been updated to show some graphical data (Member By Type and Payments vs Invoices data) of the user’s NetForum account.
-
A configurable Landing Page Message text box is available below the three user assistance icons on the User Profile information panel, Associations can customize this text box based on their need and use this field to inform, update, or greet their users by adding text message or any upcoming events information using the Edit Form Designer. Since this field supports HTML tags you can add hyperlink, image, or file.
To customize or edit the message in the Configurable Landing Page Message field:
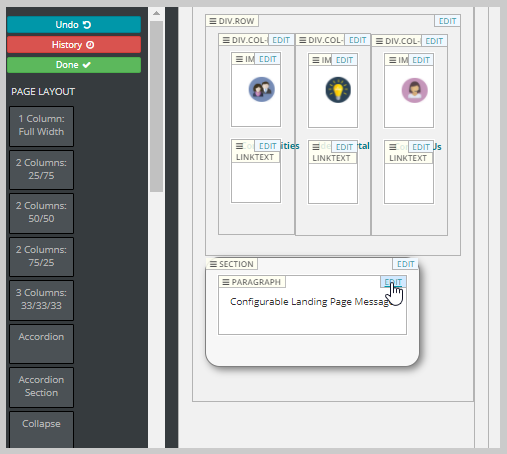
- Click the System Tools
 icon at the top menu bar and then click the Edit in Form Designer link from the displayed list to open the MVC Form Designer. This displays the Edit Form Designer page.
 - Click the Edit button in the label of the Configurable Landing Page Message widget.
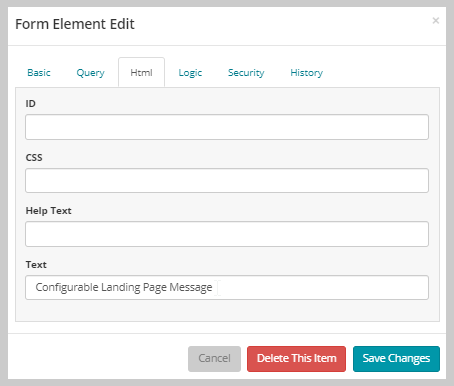
- On the Form Element Edit page, click the Html tab and in the Text field replace the Configurable Landing Page Message text with the desired Message or any data as needed. Once you add or make desired changes in the text field click Save Changes button.
- Click the Done button at the top of the left navigation bar to close the Form Designer page. The updated message will appear in the Landing Page message text box.
- Click the System Tools
Uploading Image on User Profile
User can now upload and update their profile image on the user profile.
To upload an image on the user profile:
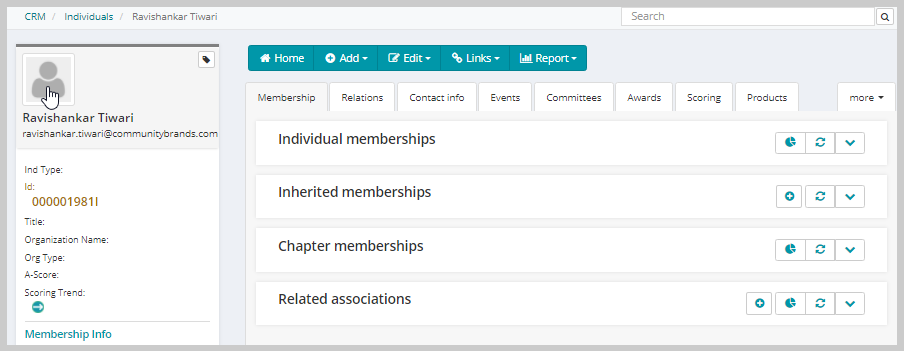
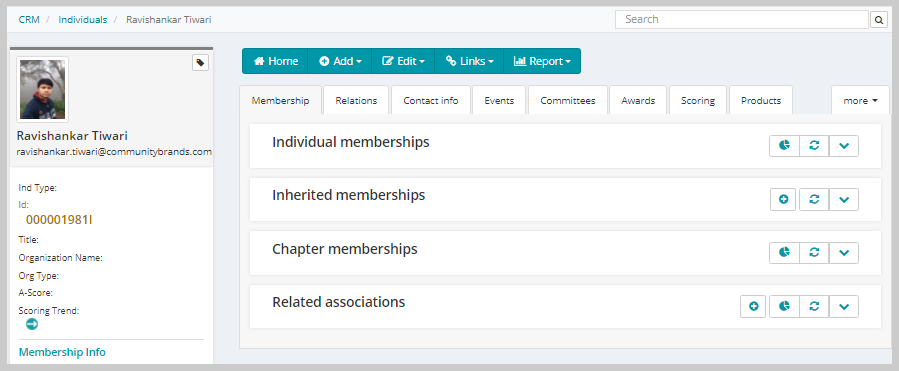
- Create an individual with your name or go to the individual profile if already exist. For details on adding an individual, refer Adding an Individual topic.
- On the Individual profile, click on the profile image area.
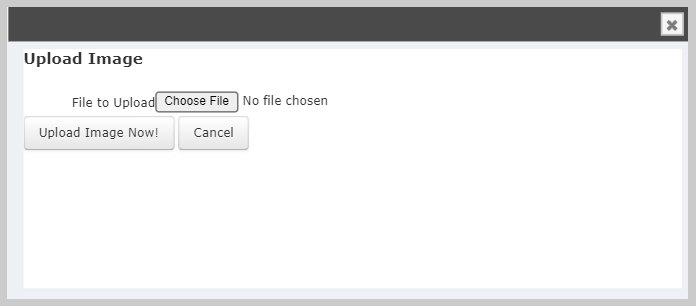
- Click the Choose File button. This will display the File Explorer form.
- Select the image that you want as a profile image and click the Upload Image Now! button.
- Once you update the profile image on the individual profile, go back to the user profile (My Profile menu > User Preferences section > My Profile link).
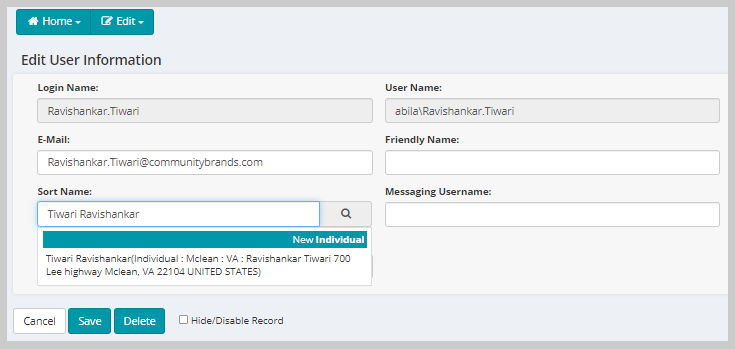
- On the User profile, click the Edit menu from the profile menu bar and click the User link form the drop-down list. This will display the Edit User Information form.
- In the Sort Name field, enter your name and select the record from the search results and then click Save.
This will display the Upload Image form.
The uploaded image will display on the individual profile.
The profile image will get updated on the user profile.

Changing the Profile Image
To change the profile image on the user profile:
- Go to the user profile (My Profile menu > User Preferences section > My Profile link).
- Click on the profile image area. This will display the Upload Image form.
- Click the Choose File button. This will display the File Explorer form.
- Select the image that you want as a profile image and click the Upload Image Now! button.
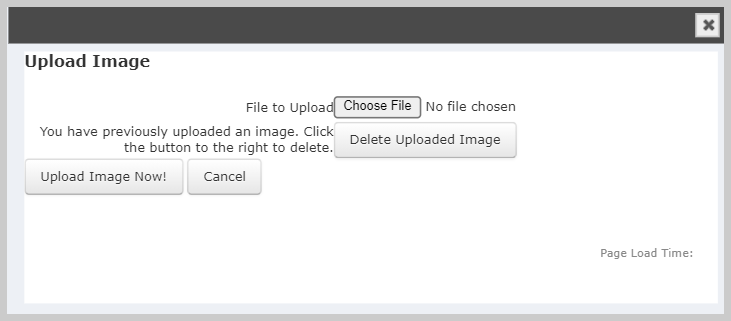
If you wish to delete the uploaded image, click the Delete Uploaded Image button.
The uploaded image will get displayed on the user profile.