The Web Site Wizard allows you to create an attractive Web site without previous experience with HTML or Web site development software.
Note: Once
the eWeb site is created, use the
Web
Site Editor to update and make changes to your eWeb site.
Entities
that have an eWeb site created can access the
Web Site Wizard for eWeb version updates only.
Important: The Web Site Wizard creates Div-Based eWeb sites by default. Use the Web Site Editor to change a Div-Based eWeb site to a Table-Based or Responsive Design eWeb site.
Use the Web Site Wizard for:
- Selecting the Web Site Layout and Theme
- Uploading the Web Site Header Image and Entering Home Page Content
- Selecting Web Site Sections (Content & Functionality)
- Entering Site Code & Site Administrator Information
- Confirming Your Settings & Saving Your Web Site
Accessing the Web Site Wizard
- Hover over the Modules tab in the top navigation bar. In the fly out menu, click Web Site. The Web Site Overview page will appear.
- Expand the Web Site Wizard group item and click the Web Site Wizard option.
Each step of the Web Site Wizard appears under a tab:
The Site Layout & Theme Tab
The first page of the Web Site Wizard is the Select Site Layout & Site Theme page. Here you will select the site layout, visual theme, font style, and background color for your Web site.

The Site Header Image Tab
The second page of the Web Site Wizard is the Upload Site Header Image & Enter Home Page Content page. This page allows you to upload an image for the header of your Web site and create the text for the Home page.

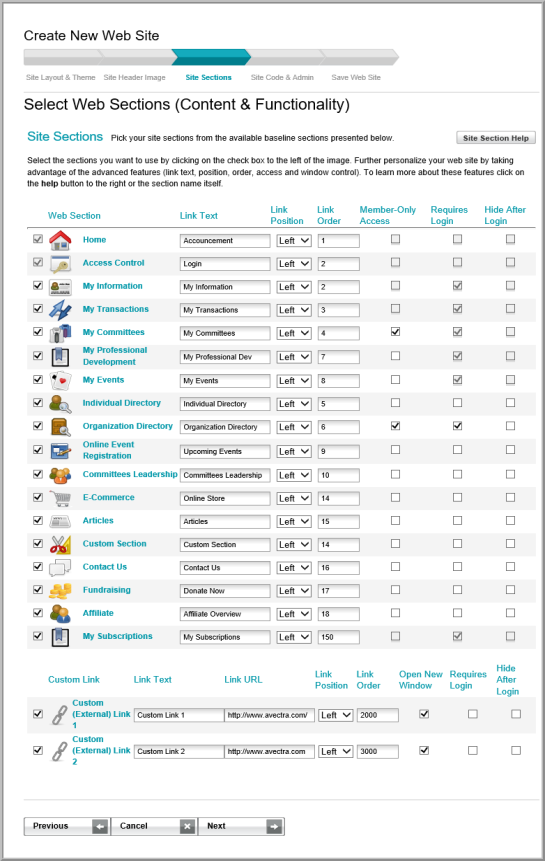
The Site Sections Tab
The third page of the Web Site Wizard is the Select Web Sections (Content & Functionality) page. This page enables you to:
- Determine the sections you want to appear on the Web site
- Name the links and select the position/order in which you want the links to appear on the navigation bar
- Add security to a link so that only members may access the Web page if desired
- Add a login requirement so that the user must log-in before accessing a Web page if desired
- Hide a link after a user logs in if desired.
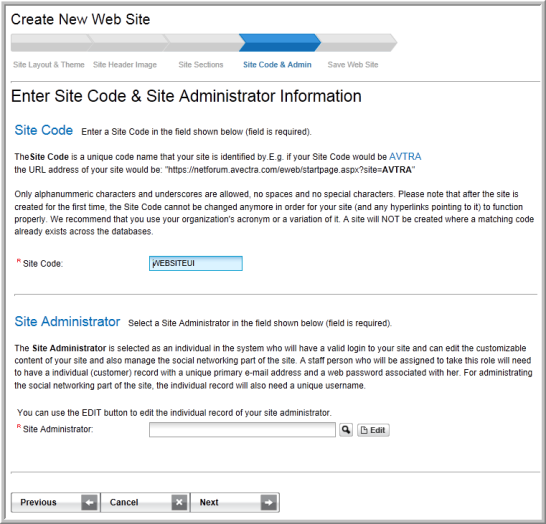
The Site Code & Admin Tab
The fourth page of the Web Site Wizard is the Enter Site Code & Site Administrator Information page. Here you will enter your site code which will appear in the URL and also to designate your Site Administrator who edits any custom content of the site and manages the social networking aspects of the site.
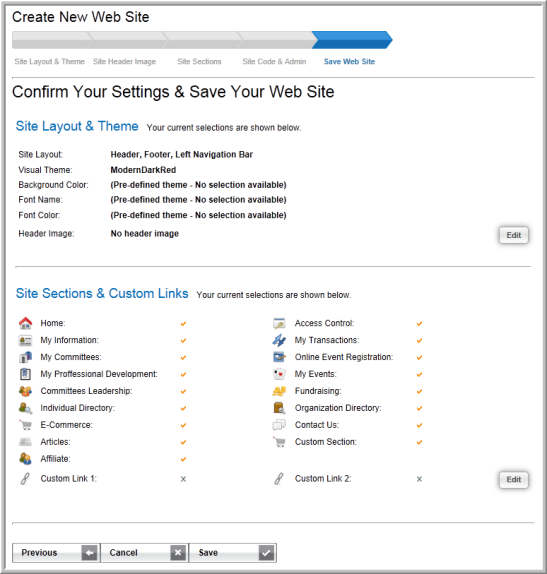
The Save Web Site Tab
The last step of the Web Site Wizard is the Confirm Your Settings & Save Your Web Site page. Here you can double-check your settings before actually creating your eWeb site.
Click the Edit button located in the Site Layout & Theme section of the page to go back and make changes to the layout and/or theme of your site. Click the Edit button located in the Site Sections & Custom Layout section of the page to make changes to the site sections and areas of your eWeb site. You may also use the Previous button found at the bottom of the page to navigate to specific pages in the Web Site Wizard.
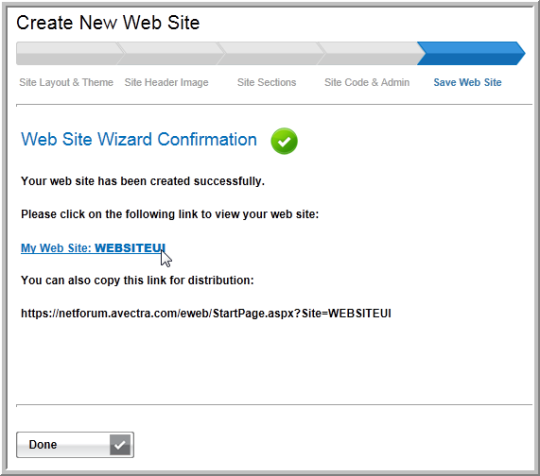
When you have confirmed all of the attributes of your eWeb site, click the Save button to create your site. The Web Site Wizard Confirmation page will display.