Open topic with navigation
Setting up Confirmation Headers
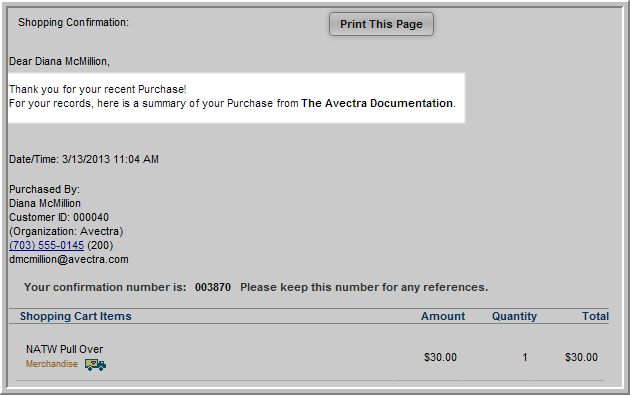
Set up headers to appear on printer-friendly and e-mail
confirmation pages generated by purchases made on iWeb and eWeb.
This system option allows for multiple headers and footers in printer-friendly and e-mail confirmation pages. It also opens up many formatting options, including
an HTML Editor.
If no custom confirmation header was created, a standard
message appears: "Thank you for your recent payment/purchase.
For your records, here is a summary of your payment from
[your association name].”
To add a new header:
- Navigate to the eMarketing
Overview page and click the Setup hyperlink.
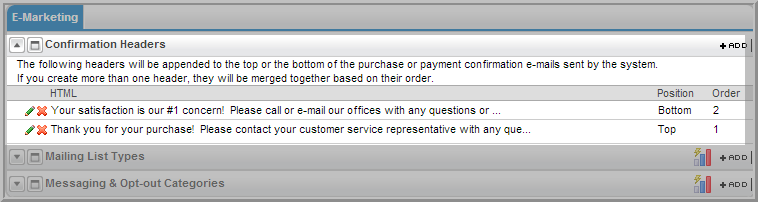
- Expand the Confirmation Headers child form and click Add. The Confirmation Header Information form displays.
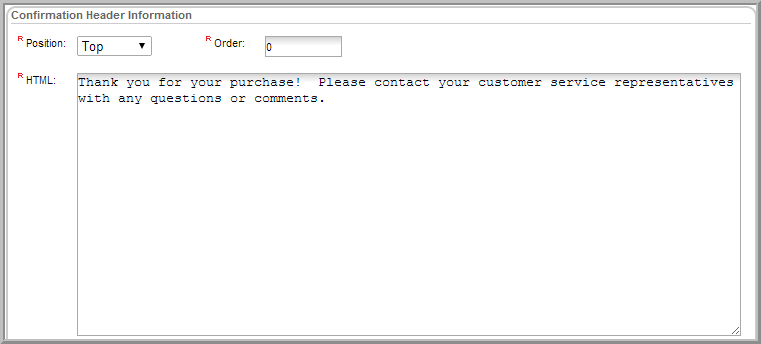
- In the Position
drop-down, select Top or Bottom (required). This indicates whether the message will be Header (top) or Footer (bottom) on your e-mail confirmations.
- If you have more than one header, use the Order field to specify the order
in which the Header should appear (required). Order numbers appear
sequentially on the page, so the default order of zero will appear
first.
- Use the HTML text box to enter your message.
- Click Save.
The confirmation header you created now appears in the Confirmation Headers child
form.