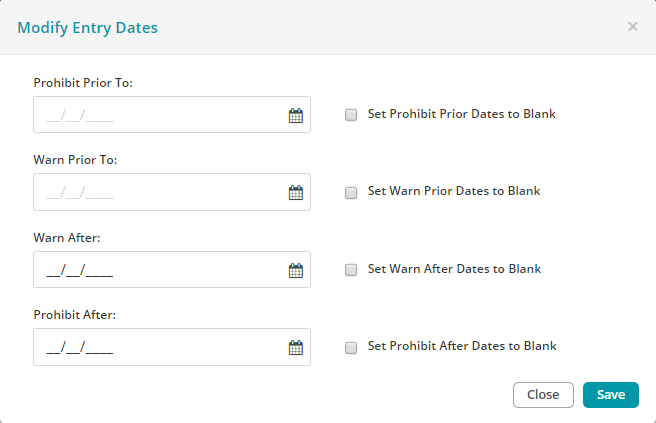
Modify Entry Dates Form
To open the Modify Entry Dates form, click Modify Dates in the Organization Preferences Entry Dates Tab.

Prohibit Prior To: Enter a date, or use the calendar control to select a new date During transaction entry, entering an Effective Date that is prior to the date entered here displays an error message and does not allow the transaction to be entered.
Warn Prior To: Enter a date, or use the calendar control to select a new date During transaction entry, entering an Effective Date that is prior to the date entered here gives a warning but still allows entering the transaction.
Note: By default, the Prohibit/Warn Prior To date is the first day of the fiscal year that was specified when the organization was created. Consequently, users are warned if they try to enter a transaction for the previous fiscal year.
Warn After: Enter a date, or use the calendar control to select a new date During transaction entry, entering an Effective Date that is after the date entered here gives a warning but still allows entering the transaction.
Note: By default, this date is the last day of the fiscal year that was specified when the organization was created. Consequently, users are warned if they try to enter a transaction for the previous fiscal year.
Prohibit After: Enter a date, or use the calendar control to select a new date During transaction entry, entering an Effective Date that is after the date entered here displays an error message and does not allow the transaction to be entered.
Set Prohibit Prior Dates to Blank: Check to set the date field to blank.
Set Warn Prior Dates to Blank: Check to set the date field to blank.
Set Warn After Dates to Blank: Check to set the date field to blank.
Set Prohibit After Dates to Blank: Check to set the date field to blank.
Buttons
Close: Click to close the form without saving any changes.
Save: Click to save any changes made on the form.