Schedule Setup for Installment Payments
In order to use the installment payment feature in eWeb, user has to add schedules in the respective business unit and then use these Schedule Setup at product type and product level. User can limit the setup records to either the default business unit or the product's business unit if system option setWebBatchBusinessUnitByProduct has been set. To add Schedule Setup refer Adding Schedule Setup in Business Unit page.
Below list of Products supports Installment Payments:
- Merchandise
- Subscription
- Subscription Issues
- Publication
- Fundraising Fund Code (Classic mode)
- Misc Products
- Kit
- Package
- Bundle Product
Schedule Setup at Product Type Level
You can add, edit, or delete Schedule Setup and control the installment payments options at specific Product Type level.
To add a Schedule Setup at product type level, complete the following steps:
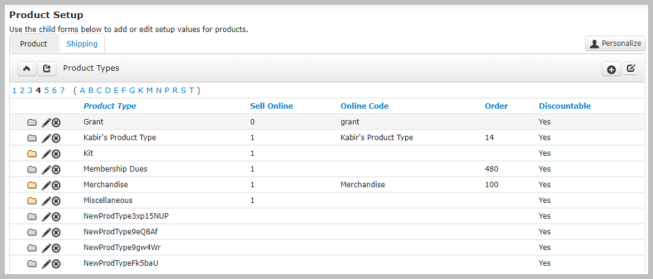
- Go to the Inventory module and click Product Setup group item.
- Product should be marked as Sell Online to allow installments on eWeb. To mark a product as Sell Online, click
 icon next to the product.
 - Select the sell online? check box and then click Save.
- Click
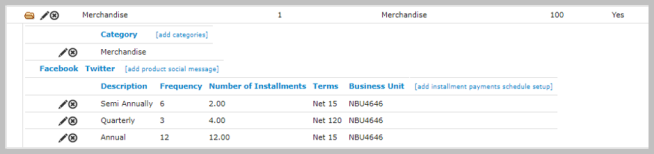
 icon against the product type for which you want to add schedule setup.
 - From the displayed child from, click add installment payments schedule setup link.
- Select the appropriate options from Schedule Setup field.
- Click Save button.
Important! To complete the following steps, you need to switch User Interface to classic mode.
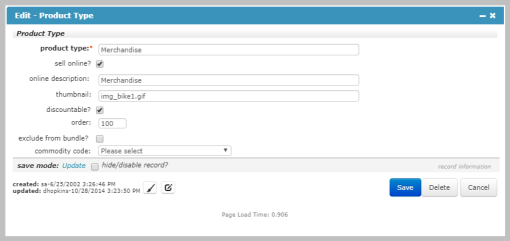
This will display Edit - Product Type window.
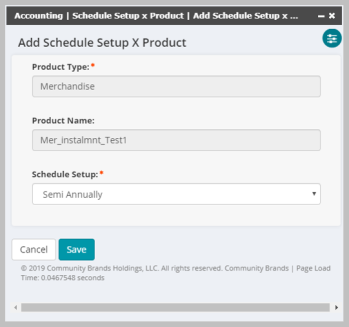
This will display the Add - Schedule Setup x Product window.
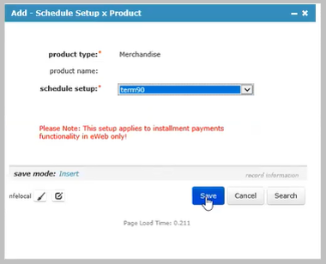
Note: The product type field will be read only and prepopulated if accessing the form from the product type.
New Schedule will be added to a product type.
You can also add Schedule Setup at specific product level, To add Schedule Setup at product level, refer below topic.
Note: If you add Schedule Setup at product level, it will override the Schedule Setup at product type level and will display it as available installment options.
Schedule Setup at Product Level
This will give an ability to add schedule setup at product level. An advantage of this setting is that you can restrict a product with specific Schedule Setup than that set at Product Type level. This will override the Schedule Setup at product type level. Schedule setup added here will reflect in the product payment information page in eWeb.
To add Schedule Setup at product level, complete the following steps:
- Go to Inventory module, click Merchandise group item. (Merchandise is selected here to explain the steps; you can select other group item as needed.)
- Open the Merchandise item for which you want to add installment schedule setup.
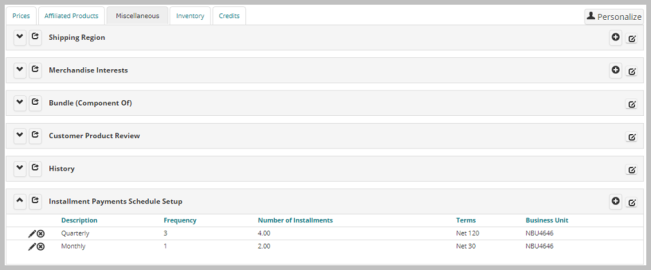
- From the Merchandise profile, click Miscellaneous tab at bottom.
- Click
 icon against Installment payments Schedule Setup section.
 - Select appropriate Schedule Setup option from the Schedule Setup drop-down list.
- Click Save button to add Schedule Setup.
This will display list of sections.
This will display Add Schedule Setup X Product page.
Note: Products will be filtered based on product type. The Product Type and Product Name field will be read only and prepopulated if accessing the form from the child form under the product profile.