Crowd Wisdom Integrations setup
Crowd Wisdom Integrations setup
Overview
NetForum 2017 and above supports the Crowd Wisdom® Learning Management System. This feature is integrated in the 2017 and above versions, no system options needed to use this feature. This will provide the ability for users to create educational products in NetForum and sync it with Crowd Wisdom. A real time data exchange happens if Crowd Wisdom setup is done. This will ensure consistency among the products, and allow for a single entry of product information. The credit and catalog sync between NetForum and Crowd Wisdom can be tracked in iWeb under the integration log.
The standard integration between NetForum Enterprise and Crowd Wisdom consists of the following:
-
Single Sign On
-
Catalog Sync
-
Order Sync
-
Credit Sync
Configure and Activate the Integration
The Crowd Wisdom integration must be configured for the catalog sync and order sync to work correctly. Some of the settings (system id, username, password, and service URL) are provided by Crowd Wisdom.
To create a setup for Crowd Wisdom integration, complete the following steps:
Note: You must be a NetForum Enterprise customer and have administrator access to perform the below mentioned setup.
- Login to iWeb with Admin credentials.
- Go to Admin module, and scroll down to Intergration group item and expand it.
- Click Types group item link.
- Click Add Integration link. This will display Add integration form.
- Enter the desired name in the name field and select the CrowdWisdom from the type drop-down list.
- Click Save.
This will display Integration Types child form. The Integration Types child form displays a list of integration available, this list contains fields of the integration product, its description and vendor site. Click the link in the Vendor Site column to visit the website of the integration product.

![]()
A new integration field will be added in the Integrations child form under the Integrations group item link.
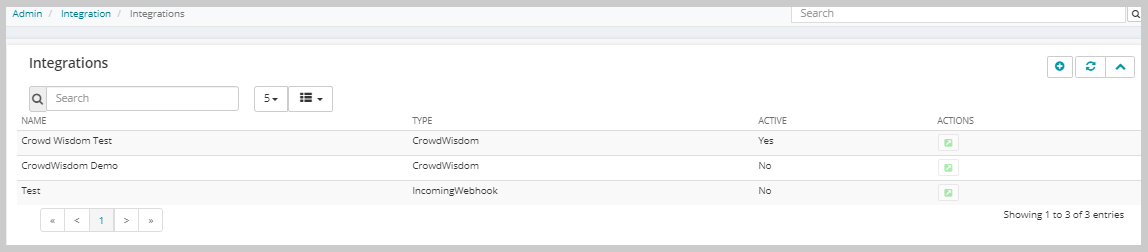
Once the new integration field is added in the Integrations child form, integration setting information need to be added and it must be in active status to complete the integration settings. These integration setting information are provided by Crowd Wisdom.
To add integration setting information, follow the below steps:
- Click Go To
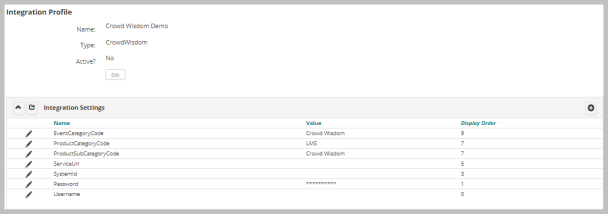
 icon on the newly added integration field. This will display Integration Profile page.
 - In the Integration Settings child form, some fields are blank in the Value column like: ServiceUrl, SystemId, Password, and Username fields as shown below, Enter the relevant details in these field as provided by Crowd Wisdom.
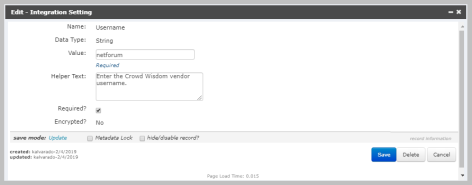
- Click edit record
 icon to enter value.
 - From the displayed Edit - Integration Setting form, enter the required value in the Value field.
- Click Save button.
- Repeat steps 3 to 5 to add values in the other Integrations settings fields.
| Setting | Description |
|---|---|
| Event Category Code | Identify which events and products are intended for Crowd Wisdom. Update these codes if you need to use different values. |
| Product Category Code | |
| Product Sub-category Code | |
| System ID | Provided and controlled by Crowd Wisdom. |
| Username | |
| Password | |
| Service URL (Test) | https://www.precrowdwisdom.com/diweb/ws/integration/v1 |
| Service URL (For Live) | https://www.mycrowdwisdom.com/diweb/ws/integration/v1 |
To Activate the created integration, follow the below steps:
- Go to the Integrations group item link under the Integration group item.
- On the Integrations child form, click Go To
 icon on the newly created integration. The Integration Profile will display.
 - Click Edit
 button.
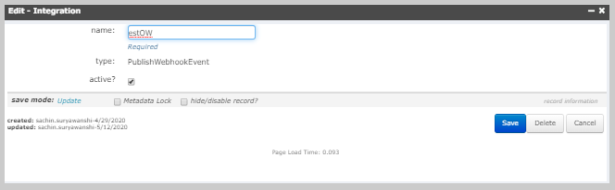
 - From the displayed Edit - Integration form, select the active? check box. You can also edit the name field.
- Click Save button.
The created integration will be active and ready to use.
Troubleshooting Connection Information
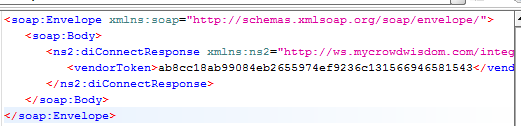
- Use SOAP UI and connect to the service URL.
- Call the DiConnect API
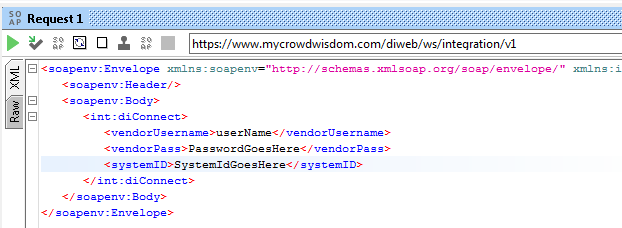
If successful, you should get a vendor token response: