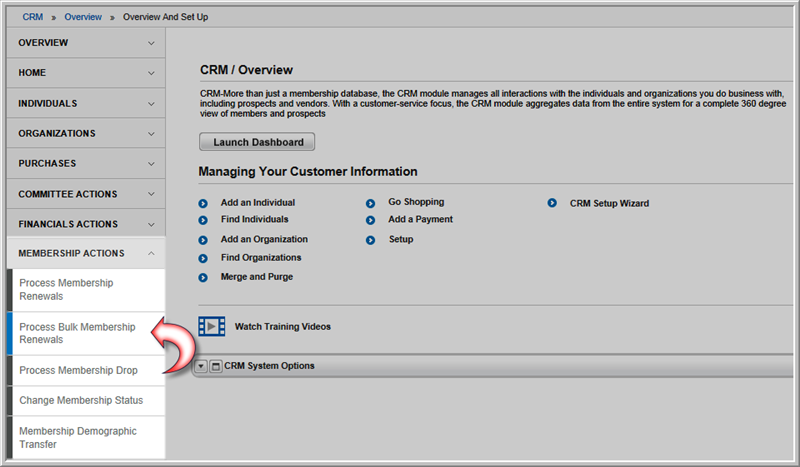
Click the Process Bulk Membership Renewals hyperlink. This will open the Bulk Renewal Scheduling pop-up window.
Renewing an Individual Membership
Processing Membership Renewals
Once member types have been mapped, they can be used in the bulk membership renewal process.
To set up the Bulk Membership Renewal Process, complete the following steps:
Click the Process Bulk Membership Renewals hyperlink. This will open the Bulk Renewal Scheduling pop-up window.
Note: You must have first set up at least one member type renewal mapping using the Renewal Mapping Setup Wizard to continue with this process.
Enter the Expire From and Expire Through dates in the appropriate fields. This will be the date range of customers that will be picked up by this process and renewed for that specific membership mapping.
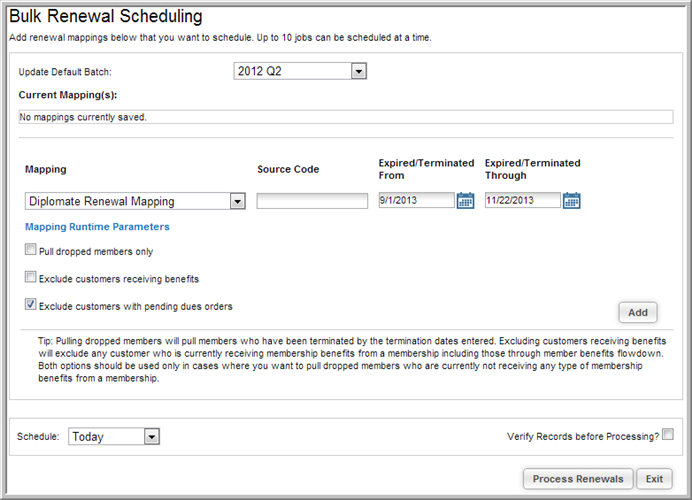
To refine the type of renewals being scheduled click the check-boxes under the Mapping Runtime Parameters section.
The options in this section allow you to pull renewals for customers that would not ordinarily be included in the bulk scheduling process, including dropped and terminated members and members with expired memberships. Default settings for these options are for the top two options to be unchecked, and for the third option to be checked.
Options include:
Click the Add button to add this mapping to the bulk renewal process. Add up to ten mappings to a single Bulk Renewal Scheduling process.
Click the Delete![]() icon next to a mapping to remove it from the scheduled
job.
icon next to a mapping to remove it from the scheduled
job.
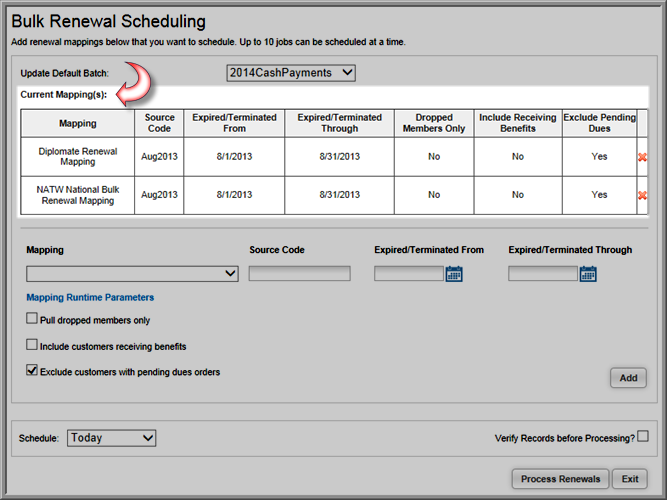
Expand the Schedule drop-down menu and select when you would like this job to occur.
You can schedule the job to run at the following times:

Click the Verify Records before Processing? check box if you would like to view (and verify) the list of records that will be processed during this job prior to the job running.
Note: If you select the Verify Records Before Processing? check box you must view the scheduled job and verify the records before the job will process (regardless of the scheduled date.) If you do not click this check box, the scheduled job will run as scheduled.