
Linking to an Uploaded Document on eWeb
Once you have uploaded a document to a profile page (See Uploading a Document to a Profile), you may want to reference that document on eWeb for people to view or right-click and download.
To reference an uploaded document on eWeb, complete the following steps:
- Go to the profile page that contains the document you want to link.
- Notice that the Documents
child form contains relevant information about your document such
as File Description, File Type, etc.

- However, to link to an internal netFORUM document
such as this, you now need the internal
name that netFORUM uses to reference the file. To obtain the
internal file name, click the Upload
 button.
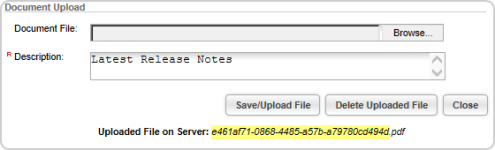
 - Notice that when you click the Upload button again, the server name of the file you previously uploaded is given to you underneath the Save/Upload File button - highlighted in yellow in the sample image below. This is the name you must use minus the extension of the file (in this case ".pdf"). Highlight the full name of the file minus the extension and save it somewhere handy such as Notepad for later reference.
- Close the Document Upload window without saving it and go to the eWeb page you plan to link the document to in your Web Site Editor under the Content tab.
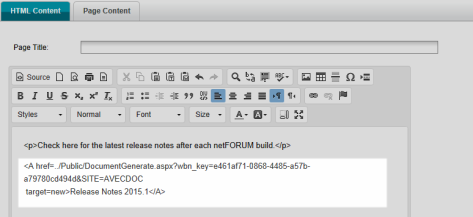
- The following HTML syntax is used on a content page in the Web Site Editor for linking to internal documents on that page:
- The highlighted text is the internal server name you received from the document upload window (shown in the image above).
-
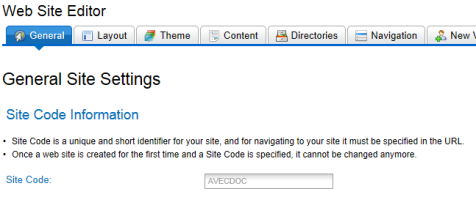
Site = the site code you obtain from the General tab in the Web Site Editor.
- Target=new means that the document will open in a new window when clicked.
- Click here to download is the text the user will click to open the document. This can be any text you wish the user to click.
-
Place this HTML text into your own eWeb page:
- Go to your Web Posting HTML template or page that you want to post
the link onto and click the Source
 button.
- Cut and paste the code into the template and click Save.
- Go to your Web Posting HTML template or page that you want to post
the link onto and click the Source
-
If you do not want to work with HTML:
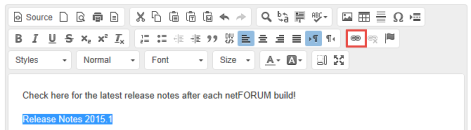
- Highlight the text that the user will click and click the Insert Hyperlink icon.
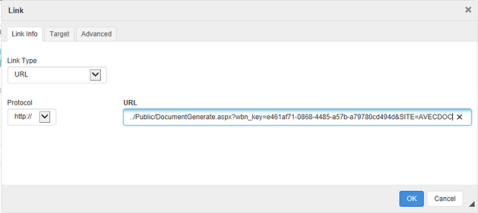
- On the Link form, Link Info tab, enter the link into the URL field.
- On the Link form, Target tab, select New Window from the Target box so that the document will open in a new browser window.
- Click OK.
Enter only the link or the document will not link correctly. Leave the <a href> HTML tag off.
For example, enter only
../Public/DocumentGenerate.aspx?wbn_key=e461af71-0868-4485-a57b-a79780cd494d&SITE=AVECDOC
<A href=../Public/DocumentGenerate.aspx?wbn_key=e461af71-0868-4485-a57b-a79780cd494d&SITE=AVECDOC target=new>Release Notes 2015.1</A>
Where:
Complete either Step 7 or Step 8, but not both.
- Once linked, go to eWeb and view the page. Click on the link and make sure the document loads.
Now that you have the document on eWeb, you can use your eWeb link to use the document in eMarketing e-mail campaigns. View the Help topic on Linking to an Uploaded Document in eMarketing Templates for more information.