
Creating an Export File for General Ledger Software
netFORUM Pro supports integration of your accounting date with several accounting software packages. These packages include:
To facilitate this integration, you must submit an issue online to Abila Support indicating you would like to integrate your date with General Ledger Software. This will enable you to export your closed batches to the software package you have chosen.
Note: When submitting your case to Abila Support, make sure to specify which software package you will be using for the data export.
Creating the Export File
Accounting data from closed batches in netFORUM Pro may be exported into one of the several accounting software packages listed above. The steps for exporting this data are identical for most of these packages, however the steps for using Intacct are slightly different and are outlined in the Creating an Export File for Intacct help topic..
To export data from a closed batch once your entity has been enabled to do so by support, complete the following steps:
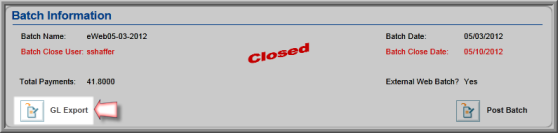
- Locate the Batch you will be exporting.
- On the Batch Profile, click the GL Export icon.
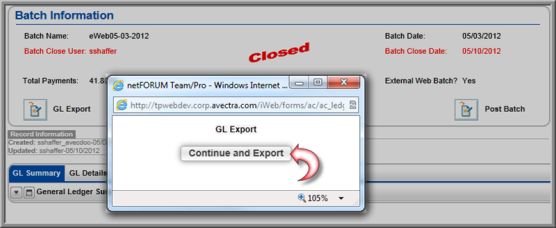
- On the GL Export window, click the Continue and Export button.
- Once the GL Export completes, the GL Export pop-up window will update and provide a link to view the exported file.
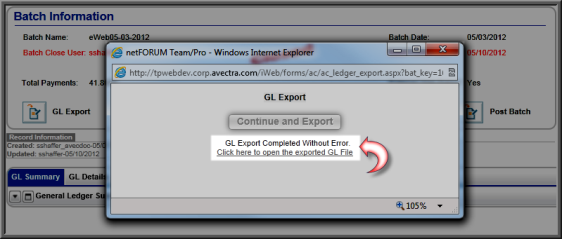
- Click the Click here to open the exported GL File link located on the GL Export pop-up window.
- The GL Export window will update to provide you with the option to Open your exported file, Save your exported file, or Cancel the process.
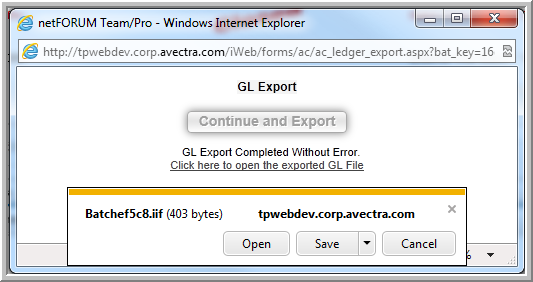
Clicking the Open button will cause the export file to attempt to open. Depending on the extension for this file, you may have to browse your hard drive to select the appropriate application to open the file.
Clicking the Save button, saves the file to your hard drive or network drive and will update the GL Export window with several options to allow you to view the file.
Clicking the Down arrow next to the Save button will provide you with the following options:
- Save - save the file with the default file name
- Save As - allows you to modify the file name before saving
- Save and Open - saves the file with the default file name and then attempts to open the file. You may need to browse your hard drive to select the appropriate application to use to open this file depending on the file extension.

- Clicking the Open button will attempt to open the exported file. Depending on the extension of the file, you may have to browse your hard drive to specify the application to use to open the file.
- Clicking the Down arrow on the Open button will provide you with the option to simply Open the file, or you can click the Open with option to browse your hard drive to specify the application to use to open the file.
- Clicking the Open folder button will open the folder on your hard drive or network drive where the export file was downloaded.
- Clicking the View downloads button will open the View Downloads pop-up window for your browser to display a listing of files that have been recently downloaded.
- Once the file has been saved, it can be imported into the accounting software you are using.
Each accounting software package provides different information.