
Setting Up a New Affiliate
There are three childforms under the Affiliate Information tab that you must consider and set-up before you begin adding affiliates.

Click the Add hyperlink to add a new option just as you normally would with a set-up option. They are: Affiliate Type, Affiliate Status, and Affiliate Region. Each is described below.
- Affiliate Type – used to designate what type of group or affiliate you are adding such as a chapter or section.
- Affiliate Status – used to specify the status of an affiliate such as active, pending and so forth.
- Affiliate Region – used to designate the location of an affiliate.
Once you have defined your set-up options, you are ready to begin adding affiliates.
Displaying Affiliates on eWeb
Affiliates may also be configured to display on your eWeb site. Documents can be uploaded for an affiliate and made available on eWeb. In addition, committees and events linked to the affiliate will also be displayed along with the affiliate on eWeb based on the Show Online settings.
To configure your eWeb site to display affiliates on eWeb, complete the following steps:
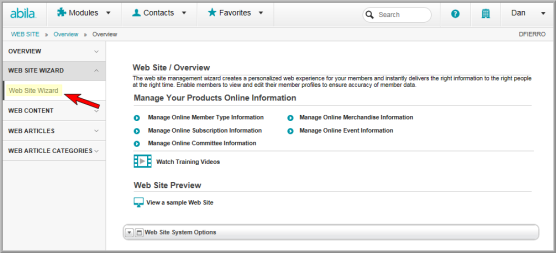
- Mouse-over the Website
 icon to expand the Website
fly-out menu.
icon to expand the Website
fly-out menu. - Mouse-over the Website Wizard option to display the Website Wizard options on the right portion of the Website fly-out menu.
- Click the Website Wizard link.
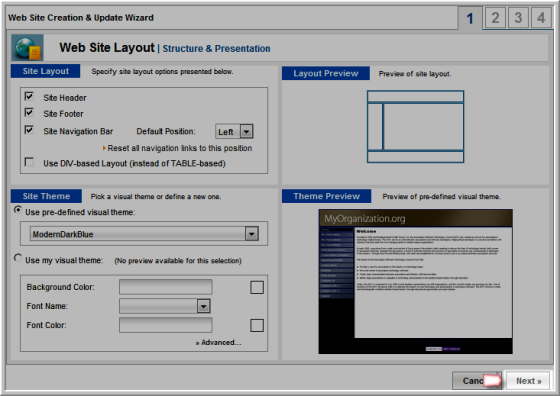
- Click the Next button.
- Continue to click the Next button until you reach the Web Site Components form.
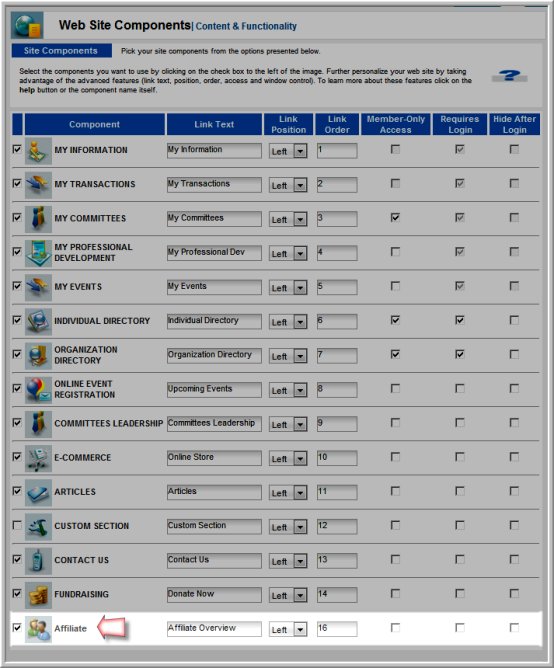
- Click the Affiliate checkbox located near the bottom of the Web Site Components form.
- Click the Next button to proceed to the Web Site Setup | Summary screen.
- On the Web Site Setup | Summary screen, click the Save button. You will receive a pop-up informing you that clicking the Save button will update your Web site.
- Click the Ok button on the Message from webpage pop-up window.
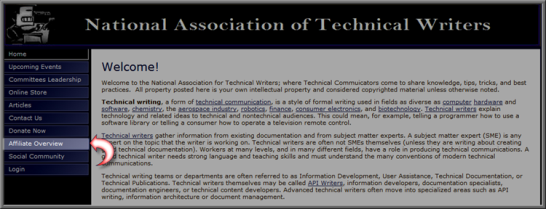
- Click the link to view your Web site.
- Click the Affiliate Overview link
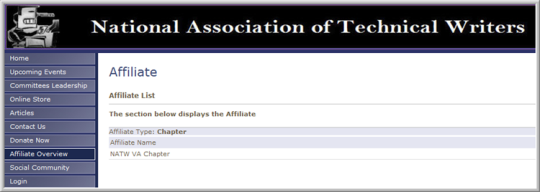
- Click the hyperlinked name of the affiliate to view the Affiliate Details page for that affiliate.
This will launch the Website Wizard. If your site is already built, you will be able to skip most of the steps in the Website Wizard. If your site is not built, please view the Using the Web Site Creation and Update Wizard online Help topic for complete instructions.
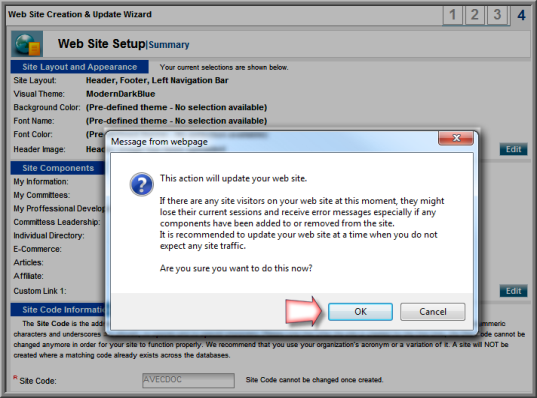
This will begin the Web site update process which will take a few moments. When it is completed you will be taken to the final page of the Web Site Wizard.
Here you can click the Finish button to exit the Web Site Wizard, or click on the link to your Web site to view your changes.
This will display the Affiliate page. This page lists all the affiliates linked to your association grouped by affiliate type.
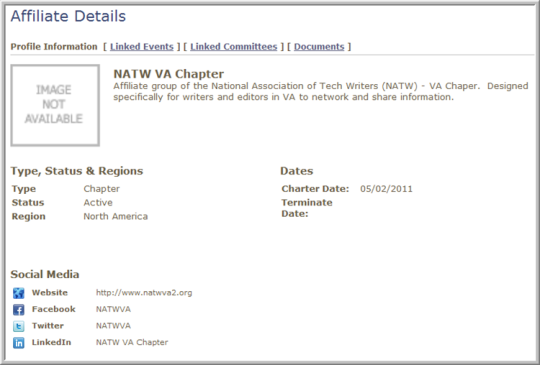
The Affiliate Details page displays information about the affiliate. In addition, eWeb visitors can view any Linked Events, Linked Committees, or uploaded Documents by clicking on the appropriate link located at the top of the Affiliate Details page.
Tip: The Show Online checkbox must be checked for each linked committee, event and document in order to be displayed on the eWeb site.