
How to Make Custom Pages Appear on Your Web Site
Once you have created a custom page for your Web site, it will not automatically appear. You must remember to create a link to it on your navigation menu on the Navigation tab of the Web Site Editor.
Note: Before you can create the link, you must first add the Web Section and add the Web Page from the Web Site Content directory tree.
(See also, Setting Up Your Web Site Navigation)
To create a Web Site navigation link:
- Go to the Web Site module.
- On the group items bar, click Web Site Editor.
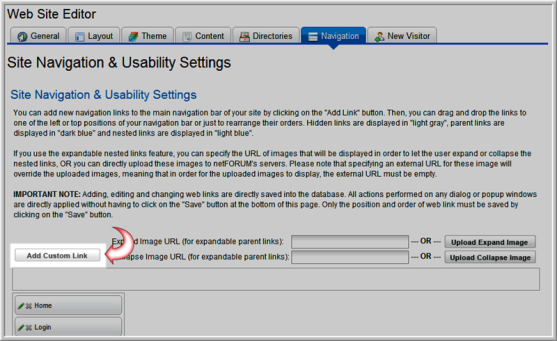
- Select the Navigation tab. Your custom Web pages will display on the navigation bar(s).
- At the top of the Web Site Navigation bar, click the Add Custom Link button.
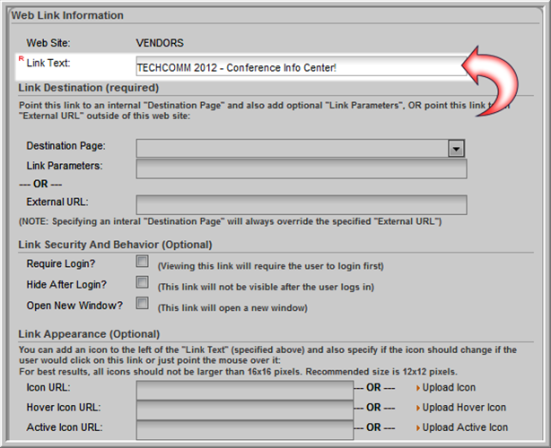
- Enter the name of the link in the Link Text field.
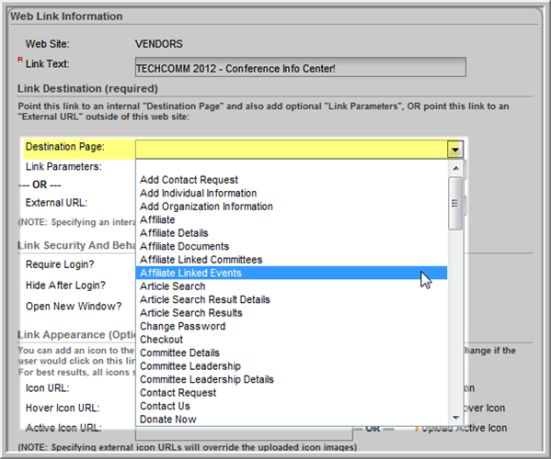
- Select an internal Destination Page for this link (This is one of the Web pages added using the Web Site Content tab).
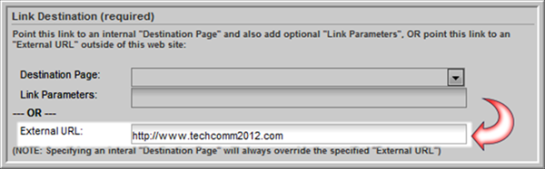
Note: You can add an external URL as the destination, however, if you select both an internal Destination Page and an External URL, the internal page will override the External URL.
- If appropriate, add link security, or specify that
you want a new window to open when the link is clicked:
- To require a user to log in before accessing this link and the corresponding content, select the Require Login check box.
- To hide the link after the user logs in, select the Hide After Login check box. (For example, you can hide the login link after the user has logged in.)
- To open a new window when the user clicks on the link, select the Open New Window check box.
![]()
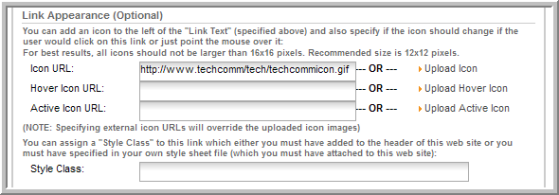
- To add an icon to the link:
- To use an icon for the link, enter a URL for the icon in the Icon URL field. The recommended size is 12x12 pixels.
- To add an icon that will display when the user’s mouse hovers over the link, enter the URL for the icon in the Hover Icon URL field.
- To add an icon that will display after the user clicks on the link, enter the URL for the icon in the Active Icon URL field.
- You may also upload an icon. If you host an icon externally it will override an uploaded icon.
- Finally, you may assign a Style Class to the icon which must be defined in the Header or uploaded separately to the Web Site on the General tab.
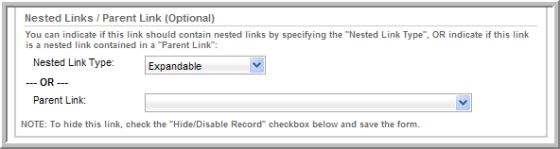
- If this is the parent link of a nested menu, select whether this link is an Expandable menu or a Popup menu by selecting the link type from the Nested Link Type drop-down list.
Note: If you select Expandable, the user will be able to expand and collapse the list of child links. If you select Popup, when the user hovers their mouse pointer over the parent link, a popup menu will display the child links.
If a link is unintentionally deleted, it will have to be recreated. Deleted links are not recoverable through the Web site Wizard or via netFORUM support..
The link will appear in the order it appears on your Navigation tab. You may click and drag links to re-order them.