
Security Group Features and Functionality
This section provides information about adding a user to, updating, and editing security group functionality and descriptions.
Important: Contact netFORUM Pro Support to clear the server cache any time a person is added to a security group or moved between security groups. Additionally, iWeb and eWeb sessions lose all work in progress during a server cache clear so clearing the server cache should be an off-hours activity. For example, a customer would lose their shopping cart if server cache were cleared while they were shopping.
Adding a User to a Security Group
Adding a new user to a Security Group requires access to the Administration Module. Click the Set Group Security link and the Group Security Setup window displays. All active (licensed) users in the system are listed at the bottom of this window along with all baseline Security Groups and any additional custom Security Groups created. If a user needed for a Security Group does not display, this means that the user is not a licensed netFORUM Pro user and they have not been added to the system. Contact netFORUM Pro Support to ensure that enough licenses are in place so that required users can be added to Security Groups.
To add a new user to a security group:
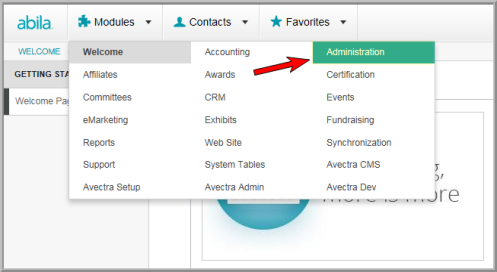
- Hover over the Modules tab in the top navigation bar. In the fly out menu, click Administration.
- Expand the Overview group item and click Set Group Security (Client). The Add/Edit/Delete Security Group window displays.
- Select the Security Group from the drop down list to which the user should be added.
- Click the box next to the user name to be added.
- Click Save to save the changes.
The Administration/Overview window displays.
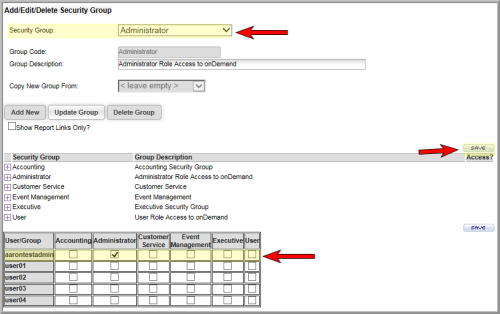
For example, aarontestadmin in the example above is added to the Administrator Security Group.
The user is now a part of the selected Security Group.
Note: The changes will not take affect until the newly added user logs out and back into the system.
Important: Contact netFORUM Pro Support to clear the server cache to see the changes.
Updating the Security Group Description
After creating or changing a Security Group, it may become necessary to make changes to the Group Description before making module or child form modifications.
To update a Security Group Description:
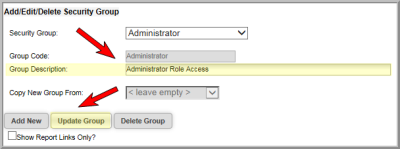
- Select the Security Group from the drop down list requiring description changes.
- Update the description in the Group Description field.
- Click Update Group to save the changes.
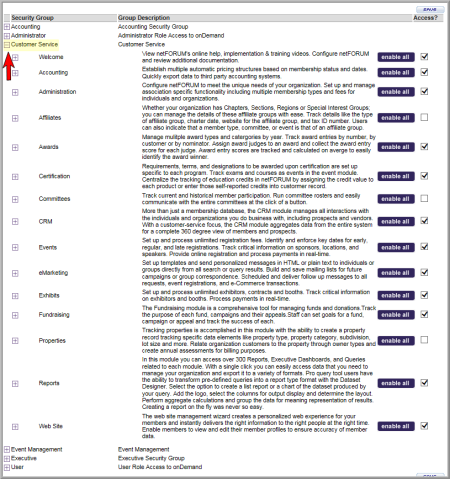
Editing Module Access within a Security Group
You may decide that you want to modify which modules are accessible by Security Group members. For example, you may want your Customer Service Security Group members to also be able to Find, List, and Add Web Site articles so that they can direct customers to relevant information (and add timely articles to the system during their downtime).
It is generally not encouraged that you modify the baseline Security Groups unless you are extremely comfortable with Security Group setup and configuration. Instead, if you want to modify a baseline group, it is suggested that you first add a new Security Group by copying an existing group’s setup and then use your new group to make any changes desired.
An entire section exists on Adding or Copying a Security Group in Advanced Features and Functionality.
To add or delete module feature access within a Security Group:
- Hover over the Modules tab in the top navigation bar. In the fly out menu, click Administration.
- Expand the Overview group item and click Set Group Security. The Add/Edit/Delete Security Group window displays.
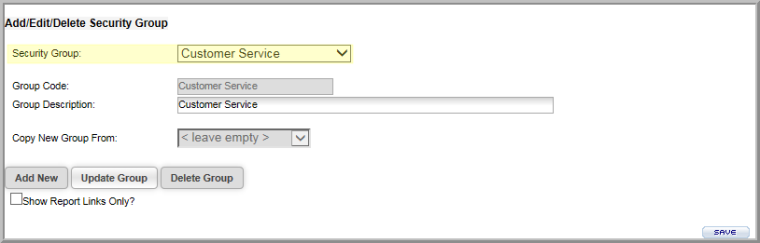
- Select the Security Group from the drop down list to be modified.
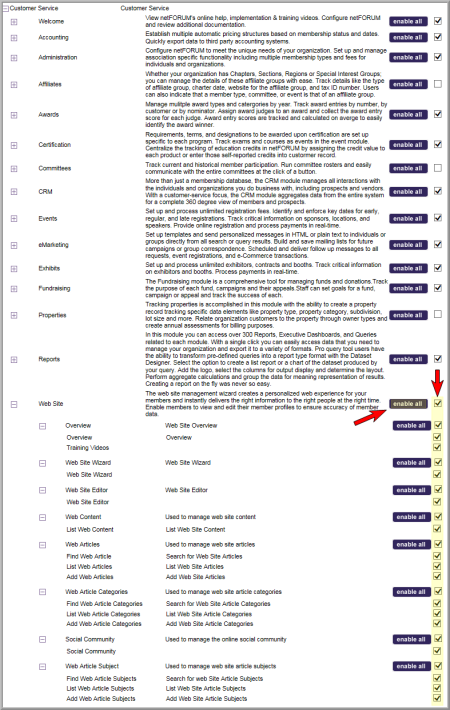
- Click the [+] Expand button to expand the selected Security Group. The module features currently available to users display.
- Click the box in the Access column next to the module you want to edit and then click on the [+] Expand button for that module.
- Alternatively, click the Enable All button to select all the module features for a module.
- Click the Update Group button to save the enabled features for a Security Group.
Note: Although a module is ‘enabled’ on the main page does not mean that all functionality of that module is enabled.
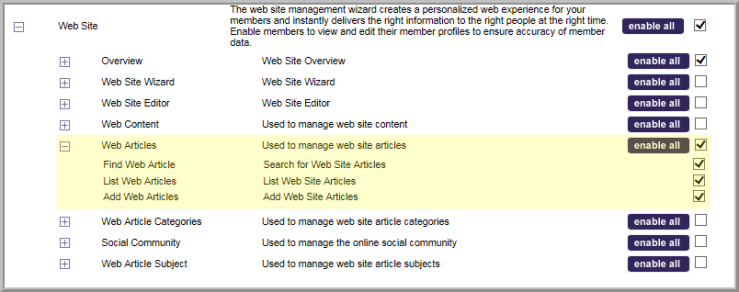
Clicking the box in the Access column next to a module feature enables that module feature.
Example: Select all the Web Articles boxes to enable finding, listing, and adding web articles.
Important: When a module is checked as ‘enabled’ at the top level of a Security Group this does not mean that all features are enabled. Use the [+] Expand button to expand the module to view exactly what functionality is truly enabled.
Important: Contact netFORUM Pro Support to clear the server cache to see the changes.