
Uploading Images to the Image Gallery
Upload and store graphic images in the Image Gallery. The graphics can be added to your Web site, reports, or e-Marketing correspondence (to create "letterhead").
- Hover over the Modules tab. In the fly out menu, click the Administration option.
-
Click the Image Gallery link on the Administration/Overview page.
- Web Site Header Image gives your Web site a unique identity. This displays as a header on the eWeb site. Recommended dimensions are 1000 x 90 pixels.
- Web Site (Expandable Links) Expand Image is the expanded graphic used for all of the expandable links on your site. Recommended dimensions are 12 x 12 pixels.
- Reports Header Image appears as the header for reports created in netFORUM using Reports Central. Recommended dimensions are 100 x 42 pixels.
- Web Site (Expandable Links) Collapse Image is the collapse graphic used for all of the expandable links on your site. Recommended dimensions are 12 x 12 pixels.
- The Marketing & Miscellaneous Images will accept ANY images that you want to appear on the Web site ( such as a sponsor logo for an event, for example). Once you upload your image here, on the web site page or template that you want to edit, you will see the ‘Insert Image’ link on the tool bar to insert this image. Recommended dimensions are 800 x 80 pixels.
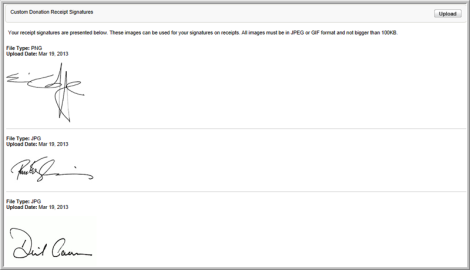
- Under Custom Receipt Images, upload images meant for use in creating a Custom Receipt. These should be images of signatures that need to appear on your custom receipt.
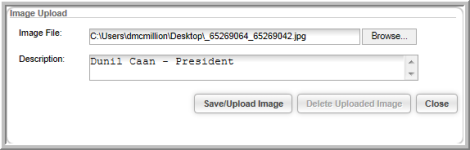
- Click the Upload button for the type of image you wish to upload. This opens the Image Upload form.
- Click the Choose File button to locate and insert the graphic in the Image File field. The image file size must be no larger than 100KB, and for best results should match recommended image dimensions. Uploaded images must be saved in JPEG or GIF format.
- Enter a Description for the image.
- Click the Save/Upload Image button. The Image Gallery page will update to display the newly uploaded image.
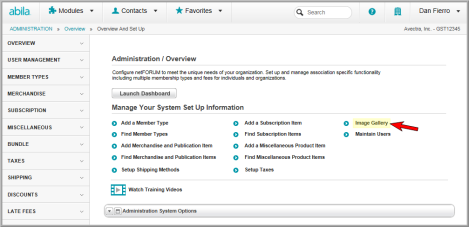
This will open the Image Gallery page. On the Image Gallery page, there are several image categories available. Each category is displayed under a header listing the category description, image file requirements, and an Upload button. If an image has already been uploaded for a category, a sample image appears under the category section.

Deleting or Replacing an Image
If an image was already uploaded, the Replace Image button appears instead of Save. Click Replace Image to replace the image on file.
To delete the image, click the Delete hyperlink under the image preview thumbnail.
