Creating a Custom Donation Receipt
Users can now create custom donation receipts. This feature is particularly useful for organizations that wish to create custom donation receipts in a format suitable for tax purposes in Canada in that the default template is information required by Canada.
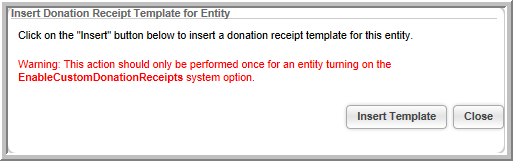
Once the Custom Receipt Template has been activated by your support representative, you can edit the custom donation receipt template in the Accounting Module Overview and Set Up page. You may only edit the custom receipt template—no additional receipt templates may be created.
To Set Up a Custom Donation Receipt:
- Click the Accounting hyperlink on the Module Menu to launch the Accounting module.
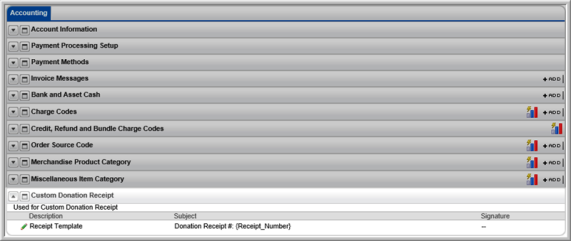
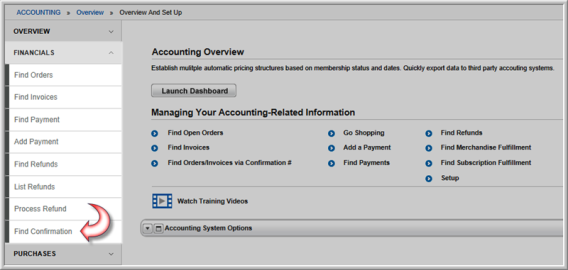
- Click the Setup hyperlink located on the Accounting Overview page.
- On the Overview and Setup page, locate the Custom Receipt. Click the Edit
 icon to edit the Receipt Template.
The Custom Donation Receipt form will appear.
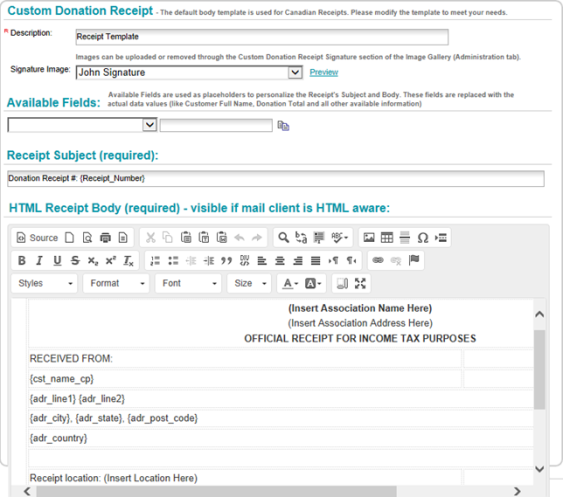
- Enter a description of the custom receipt in the Description field (required). For example, if you plan to customize the receipt to meet Canadian tax specifications, you might name it "Canadian Donation Receipt."
- Select an image of a Signature from the Signature Image drop-down field. To preview the selected signature, click the Preview hyperlink.

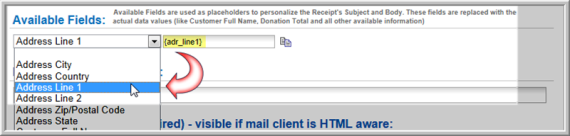
- The drop-down menu in the Available Fields section lists all available fields, or placeholders, for data. Select the desired field from the drop-down menu. The placeholder for that data will display in the text box. Copy and paste the placeholder into the Receipt Subject field or in the HTML Receipt Body text box, in the desired location.
- Enter the e-mail subject in the Receipt Subject field. This field can accept placeholders, and the {Receipt_Number} placeholder appears here by default.
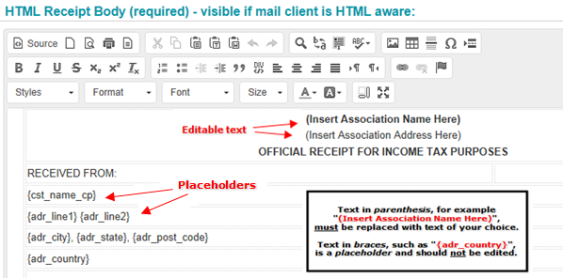
- The HTML Receipt Body text box contains the text that will appear in the e-mail. You can use placeholders from the Available Fields section in this text box.
By default, the HTML Receipt Body text is formatted to be appropriate for Canadian donation receipts and Canadian tax purposes. You can, however, customize this donation receipt text however you wish.
Toggle the Source ![]() button to switch to full screen or HTML editing modes.
button to switch to full screen or HTML editing modes.
- Click Save to preserve your changes.
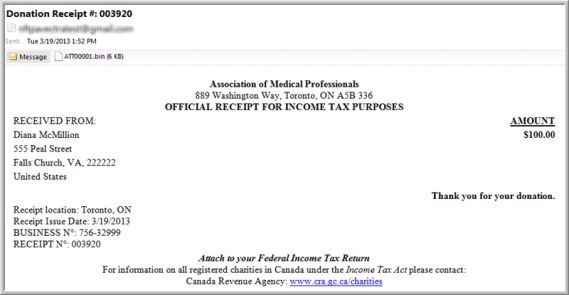
Once the custom receipt has been saved, when an individual purchases a donation they will receive an e-mailed copy of your custom receipt. In the screen shot below, note how placeholder fields such as {cst_name_cp} and {adr_line1} have automatically pulled the correct data, based on the individual customer's information.
Re-sending Custom Donation Receipts
Administrators can re-send custom donation receipts to individuals any time after the original donation purchase is made. Re-send receipts for donations made on iWeb and eWeb. Donation receipts are re-sent from the Confirmation Profile, in iWeb.
To access a confirmation profile and re-send a receipt:
- Click the Accounting hyperlink on the Module Menu to launch the Accounting module.
- Click the Financials group item to see the list of available actions.
- Click Find Confirmation.
- Enter desired search criteria in the Find—Confirmation form. Enter the wild card character, %, to select from a list of all available confirmations.
- Click Go. The List—Confirmation page opens displaying a list of confirmations matching your search criteria.
- Click the GoTo
 arrow to navigate to the desired Confirmation Profile.

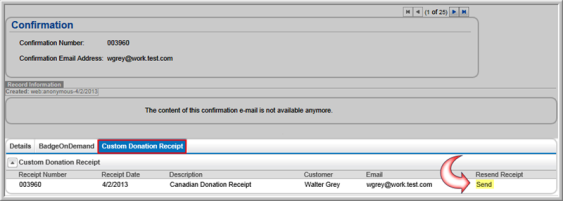
- In the Confirmation Profile, click the Custom Donation Receipt child form tab. To re-send the custom donation receipt, locate the Resend Receipt column and click the Send hyperlink.
Custom Donation Receipts for eWeb Donations
Once the custom donation receipt template has been set up, custom receipts are also sent for eWeb donations. Custom donation receipts are sent to logged-in and to anonymous users.
Administrators can re-send custom receipts for purchases made on eWeb. (For additional information on re-sending custom donation receipts, please see the section Re-sending Custom Donation Receipts, above.)
- Logged-in eWeb users will receive a custom donation receipt at their primary e-mail address. The custom receipt pulls all necessary receipt information from the individual's saved profile.
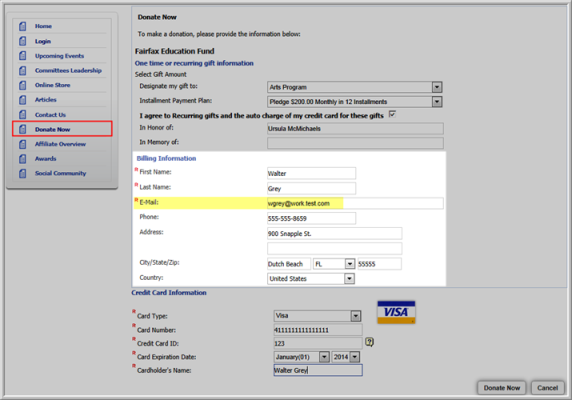
- Custom receipts for anonymous users are created using information entered in the Donate Nowform in eWeb. Receipts are sent to the e-mail address specified in the e-mail field.