
Moving and Aligning Fields on Custom Forms
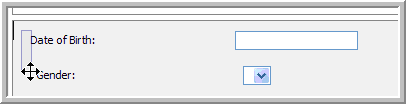
To move a demographic field, click on the field and drag to the new location. You must be sure to move the field label along with the data field.

You can move multiple demographic labels and fields at one time by selecting all the fields at once. Hold the CTRL button down on your keyboard to select the first field to be moved in the set.
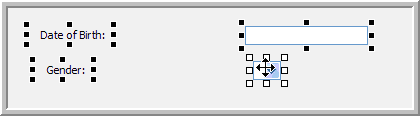
Continue to hold the CTRL button and drag your mouse to select the other data fields to be moved. This function is called the ’r;lasso’. Notice in the image below that all the fields to be moved are now highlighted with a light blue effect.
Left click your mouse to select all the field labels and data fields to be moved.

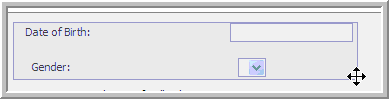
Hold the left mouse button down as you move the selected fields to the new location on the form.
When the demographics are at the desired location on the form, move the cursor to a blank spot on the form and click the left mouse button to release the selected fields.

Once you have completed moving desired fields. You may want to clean up the alignment of the fields on the form.
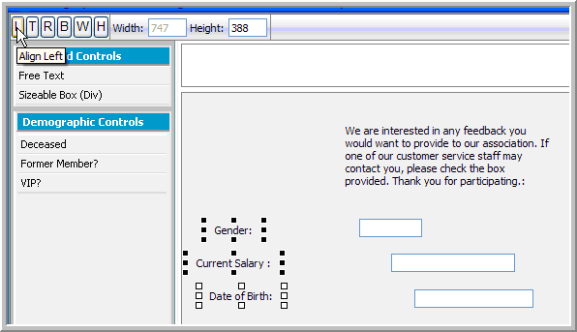
To align fields on a form, use the left, top, right, and bottom justification buttons as shown below.
![]()
To left align data fields, select the data fields to be aligned by holding CTRL and clicking on each field. Then click the L at the top left section of the design form. This will left-align the fields to equal the alignment of the left-most field.
Now that the field labels are left-aligned, you should right align the data fields.

Click the R for right alignment in the top left corner of the design form.

Tip: Saving the design form periodically is advisable so that changes you make are not cleared by a session time-out or ISP connectivity issues.