
Setting Up Products for Ecommerce Distribution
In addition to membership dues, all other product types sold from a netFORUM Pro for Real Estate Associations entity can be distributed to multiple banks. The setup process for enabling other products for distribution is nearly identical to the steps listed in Setting Up Charge Codes for Automatic Dues Distribution.
To enable a product for ecommerce distribution:
- Complete the steps listed for Setting up Charge Codes for Automatic Dues Distribution.
- Hover over the Modules tab located along the top navigation bar and click Administration.
- Click the Merchandise menu item located on the left and click the Add Merchandise link.

- Complete the steps for adding new merchandise as outlined in the Setting Up Merchandise help topic.
- Click the Distributed Product checkbox.

Clicking this checkbox will enable this product to have its fees distributed among the various bank accounts set up earlier.
In addition, if the fees for this product will be credited to any bank account other than the default bank account set up for this entity, check the Distributed Product checkbox. Failing to check this checkbox will automatically deposit all of the fees collected for this product in the default bank account.
- After all of the information needed for the new product is entered, click the Save button.
This will open the product profile page for the newly created product.
- Mouse over the Actions icon to expand the Actions fly-out menu.

- Click the Add Prices option.
- Complete the steps outlined in the Adding a Price for Merchandise help topic.
- Expand the Charge Code drop-down menu next to the Distribution #1 field to see a list of charge codes available for distribution.
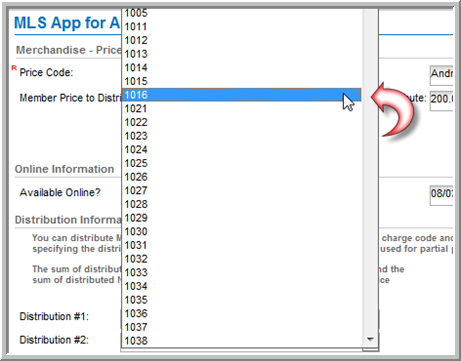
This list will display a list of the charge codes set up during Step 1 of this process.
Tip: Associate a Bank ID to the selected charge code in order for the correct bank distribution to occur. Review Setting up Charge Codes for Automatic Dues Distribution for full details.
- Select the desired charge code for Distribution #1.
- Continue to repeat steps 11 and 12 for each distribution you wish to enable for this product.
When selecting a Charge Code, a corresponding Member and Non-Member price distribution field will appear, along with a Distribution Priority drop-down for each.
- Enter the portion of the total price for both the Member and Non-Member prices for distribution to each charge code.
Tip: The sum of the price distributions in the Member column and Non-Member column must equal the total price for that price classification. For example, if your MemberPrice to Distribute (price) for this product is $100.00, the sum of all the Member distributions you allot must equal $100.00.

Notice in the screenshot above that the distributed prices in the Member column and Non-Member column total their respective (Member Price to Distribute and Non-Member Price to Distribute) values set earlier on the form.
- Expand the DistributionPriority drop-down menu next to each Distribution option and choose the priority for each.
- Click the Save button.
Tip: Remember, leaving the Distributed Product checkbox unchecked will apply 100% of the fees for the product to the default bank account for the entity.