My Event Details
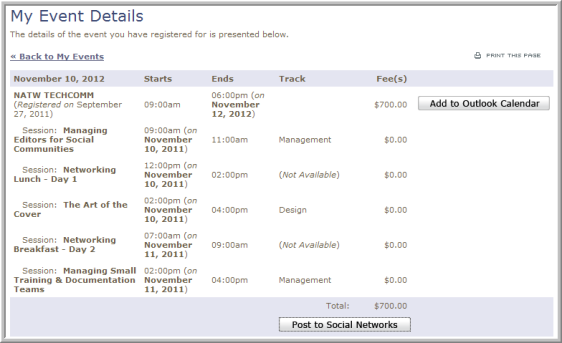
The My Event Details page appears once you are registered for an event and then click on that event from the My Events page from your eWeb site.

Notice on the sample My Event Details page above that the following functionality/information can be obtained from this page:
-
Fee(s) for both the overall event registration and each session. This allows the page to double as a receipt if needed.
-
An
 button is found in the upper right corner of the page. This button will add the event registration to your Outlook calendar.
 -
A
 button is present to allow the user to post an update to Facebook or Twitter if desired.
Important: You must have your pop-up blocker disabled or the eWeb site added as an exception for this to work correctly.
The Add to Outlook Calendar button will prompt a file download window, seen below.

Click the Open button and your Outlook Calendar will open with your event registration details presented including a list of guest and session registrations (if any).
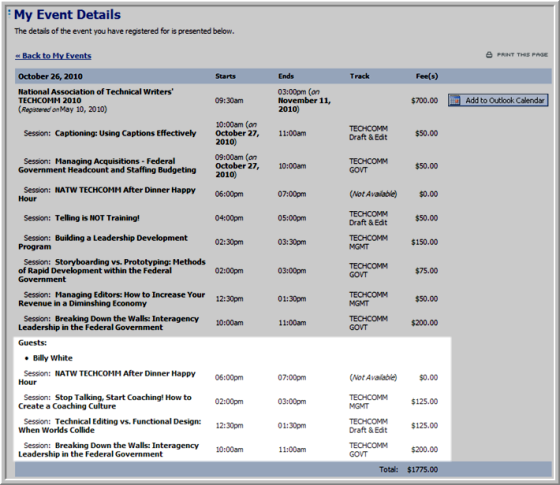
As mentioned, if a guest registration is included with your event, it will also be presented as seen in the image below.

The guest registration sessions will also be added as part of your Outlook Calendar description.

The Post to Social Networks button allows the user to post an update to Facebook or Twitter if desired. If the customer has not enabled social networks, the Edit Social Information window appears. After entering account information, the customer should click the button titled Click to share posts with Facebook/Twitter to complete the process.

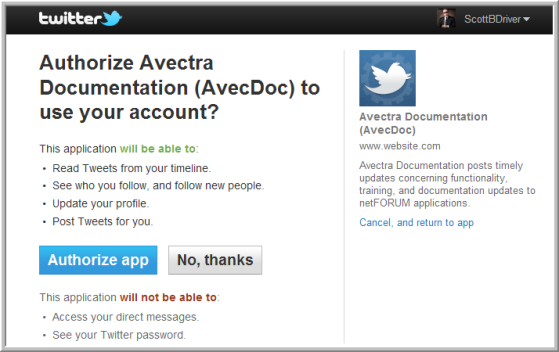
An authorization window for the social network being requested will appear; the customer must authorize the app.

Once authorized, the customer will be returned to netFORUM and be able to see that the social network in question is now authorized to Post to Social Networks.

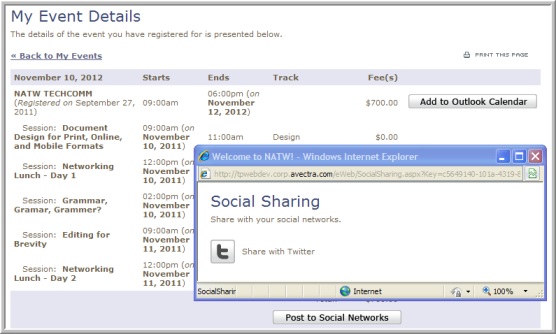
Clicking the Update Social Information button will then return the customer to the My Event Details page with the Social Sharing window opened and ready to share with the recently authorized social network.

