
Creating an Event Registration Confirmation Template
You can set up a correspondence template so that when someone registers for an event, an e-mail is sent to the registrant to reassure them that they were successfully registered. The e-mail may also provide other details such as the time and place of the event. The template is associated with the event when you create the Events Profile or after you set up the event by editing the Event Profile information.
To create an event registration confirmation template:
- Go to the E-Marketing Module, under the Templates group item, click Add Template.
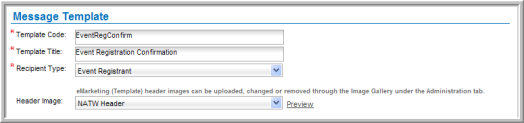
- On the Message Template page, enter a Template Code.
- Enter a Template Title.
- Select Event Registrant as the Recipient Type. This is important because if the event registrant is not the recipient, this template will not appear as a drop-down selection when adding an event.
- If desired, insert a graphic for the header image or logo from the Header Image list to make the e-mail message look like letterhead. (To upload a graphic not in the list, click the Upload button.) This image will have been uploaded to your image gallery previously to appear in this drop-down field. Click the Preview hyperlink to view the image you have selected.
- The Available Fields drop-down will allow you to insert data placeholders, such as a Badge First Name, into your template text. For example, you may use the Copy to Clipboard button to then paste (right-click then paste) the placeholder into the Subject of your template. You may also use the various fields found in the drop-down in your message text as well. The placeholders that appear in the Available Fields drop-down are entirely dependent upon which Recipient Type you choose which is another reason why it is important that you choose Event Registrant for this particular template.
- Enter the text you want to appear in the Subject line of your message. You may use Available Fields to personalize the subject as described above or you may use general text.

- Type (or copy and paste) the body text for your message into the HTML text box area. netFORUM's built-in HTML editor automatically creates the HTML code for you behind the scenes. (To view the message in HTML, click the Source
 button.) The standard formatting tool bar gives you the option to change the text font style, size, and color.
Note: You can create a bigger workspace for composing your message by selecting the Full Screen button.
- Just as with the Subject line above, you can personalize the message by adding Available Fields that will pull current information from the database (for example, the individual's name) when the message is sent. Copy the data merge fields using the Available Fields drop-down list and the Copy to Clipboard icon. Paste the data merge code into the message as appropriate. When the correspondence is sent, the appropriate data will be pulled from the database and merged into the correspondence.

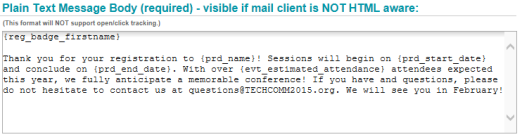
- When you are finished composing your letter, copy and paste the text from the HTML text box to the Plain Text Message Body. By creating both plain text and HTML versions of the message, you ensure that all recipients will be able to read the message. The message will display in HTML or plain text based on which message type the recipient's e-mail program supports.
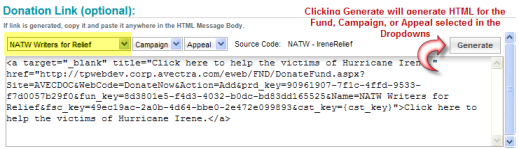
- Finally, you may have an eMarketing campaign for donations that you want to add to your template. In the Donation Link box, select the Fund, Campaign, and Appeal drop-down(s) that you want to generate the hyperlink for. When this hyperlink is clicked by the recipient of the message, the donation will be applied to that fund. Click the Generate button. HTML is generated that you may then insert into a hyperlink. This is demonstrated below.
- To apply the generated donation text, highlight the text to apply it to and click the insert hyperlink button as seen below.

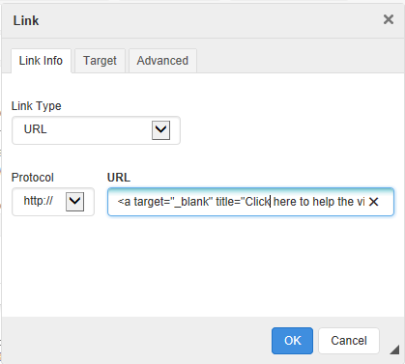
- On the Link form, paste the HTML text that was generated by the Generate button. Click OK.
- Save the template.
You will notice that this template can now be used when adding or editing an event as the Confirmation Template.
